17 Budget Outdoor Kitchen Ideas For A Stunning Al Fresco Space That Costs Almost Nothing
Transforming your outdoor space with a functional cooking area doesn’t have to drain your wallet. I’ve gathered 17 clever budget outdoor kitchen ideas that look far more expensive than they are. From rustic DIY projects to smart hacks, these solutions prove a stunning al fresco space is within reach. You deserve to cook and entertain outdoors this spring without the financial strain.
Why These Budget Outdoor Kitchen Ideas Are Worth Trying
Crafting an outdoor kitchen with budget outdoor kitchen ideas lets you extend your living space without renovation costs. These projects offer personal satisfaction and a practical area for spring gatherings.
Table of Contents
1. Charming Cinder Block Grill Station with Natural Wood Accents

I built one of these last summer, and it still holds up beautifully. The stacked cinder blocks provide a surprisingly sturdy base for a simple charcoal grill, feeling much more permanent than its cost suggests. It was a project that looked deceptively simple – getting the blocks perfectly level took a bit more elbow grease than I anticipated, but the end result was worth it.
A reclaimed wooden plank on top creates a small side counter, perfect for holding terracotta pots of herbs. The rough texture of the blocks against the smooth wood really appeals to my aesthetic sense, especially when the afternoon sun hits it just right.
How to Get This Look
- Stack cinder blocks in a stable U-shape, at least three high, for a grill base.
- Cinder Blocks, $2-$5 per block, for structural integrity.
- Treat a reclaimed wood plank with clear outdoor sealant for a natural finish.
- Alternative: use paver stones for the top, $1-$3 each.
2. Upcycled Pallet Bar with Integrated Herb Garden
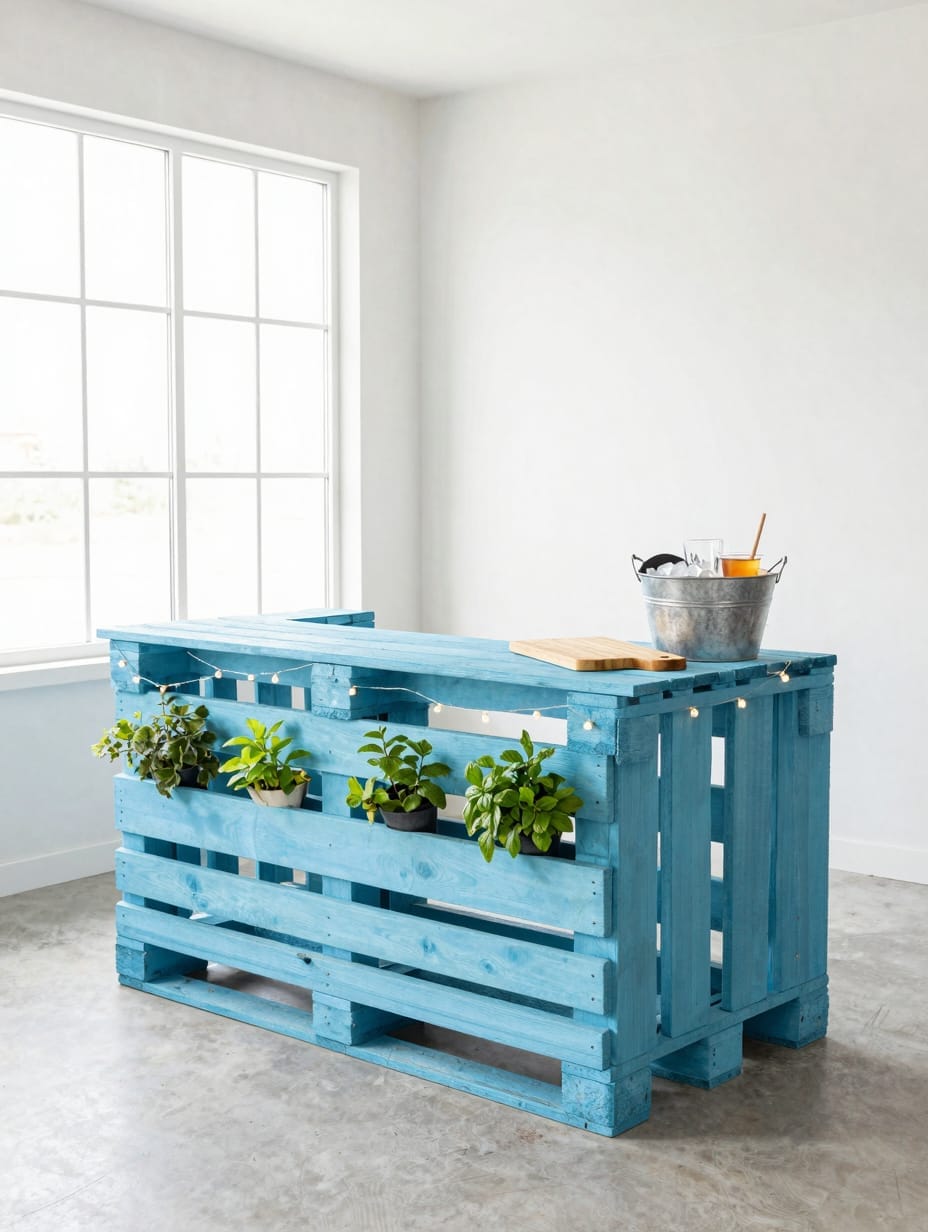
I saw this idea in a neighbor’s yard last year, and I still think about it. Imagine a vibrant, freestanding bar crafted from sanded and painted wooden pallets, showcasing a cheerful blue hue. Small potted herbs are tucked into pockets along the front, making a living, fragrant facade.
A simple bamboo cutting board and a galvanized bucket filled with ice sit on the top, ready for a gathering. It looked so inviting, especially with soft string lights draped across it as evening fell.
How to Get This Look
- Assemble two pallets vertically for the sides and one horizontally for the top.
- Outdoor Paint, $20-$40 per quart, for weather resistance.
- Consider a cheerful robin’s egg blue or a bright coral for a pop of color.
- Alternative: natural wood stain for pallets, $15-$30 per quart.
3. Portable Grill Cart with Clever Storage
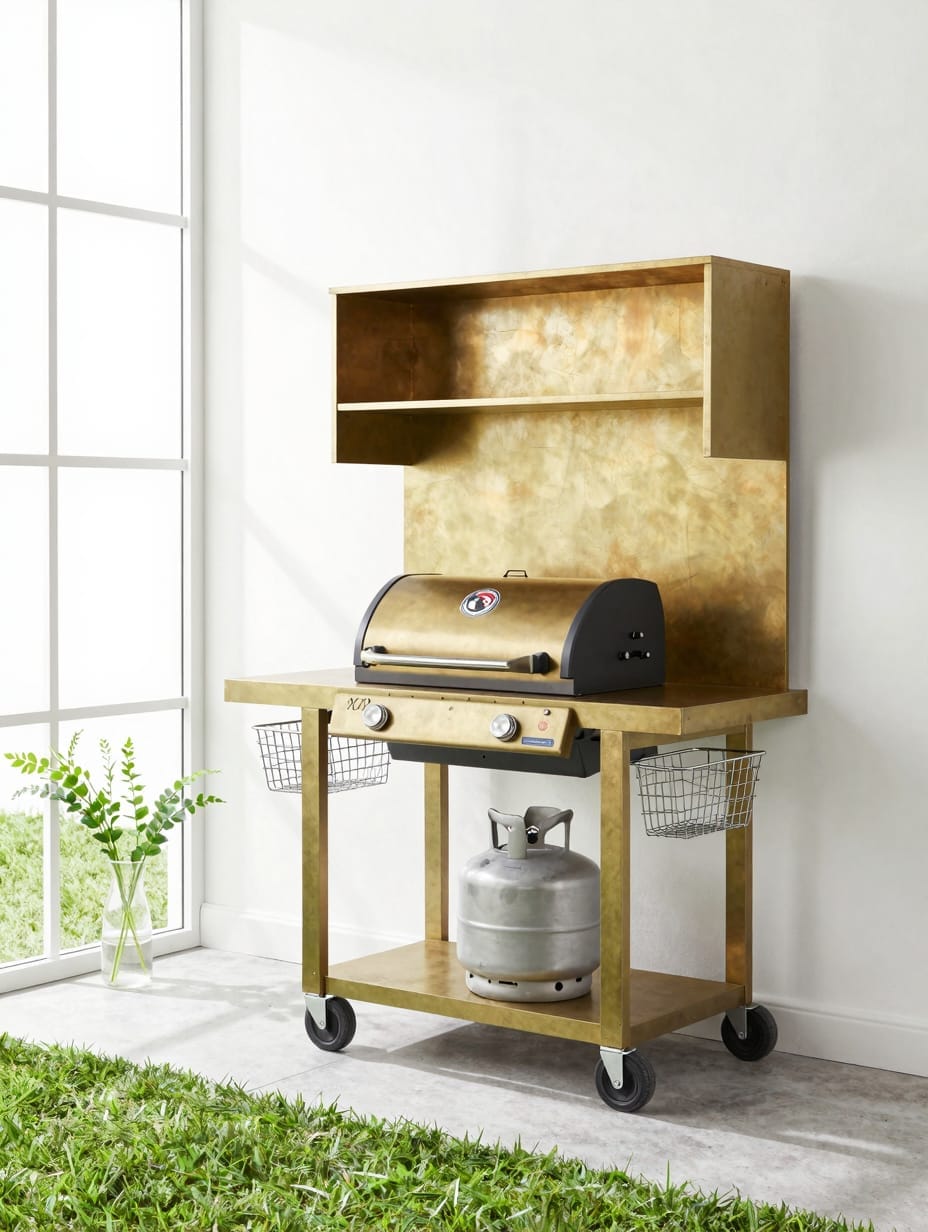
My friend Maya has one of these, and it’s genius for her small patio. It’s a compact and mobile grilling station, featuring a small propane grill mounted on a sturdy utility cart with wheels. Wire baskets are attached to the side, organizing condiments and grilling tools.
A small plastic tub tucked underneath neatly holds extra propane. The whole setup is so bright and airy, and she can roll it wherever she needs it on her concrete patio.
How to Get This Look
- Choose a utility cart at least 24 inches wide for stability.
- Utility Cart with Wheels, $50-$150, for mobility.
- Hang black magnetic hooks on the cart for grilling utensils.
- Alternative: an old rolling office cart, often free or under $20.
4. Rustic Wood Slab Prep Counter
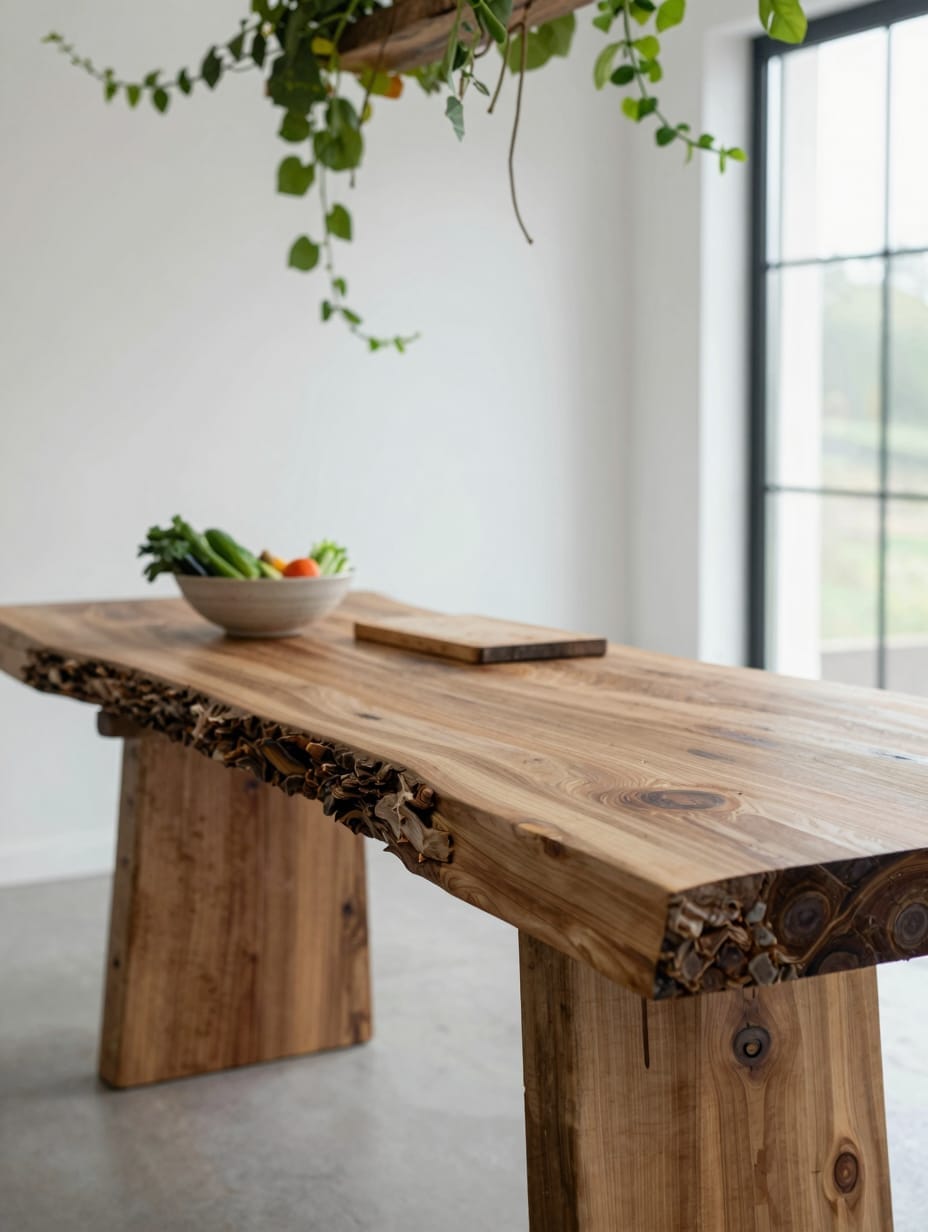
I spotted this in a showroom display, and it had such a naturalistic appeal. This stunning, rough-hewn wood slab, perhaps from a fallen tree, was supported by sturdy timber posts. The live edge of the wood added so much organic texture.
A simple ceramic bowl of fresh vegetables and a cutting board were neatly arranged, hinting at meal prep. A lush vine draped overhead, providing natural shade and making the space feel incredibly serene.
How to Get This Look
- Select a wood slab at least 3 inches thick for durability.
- Large Wood Slab, $100-$300, chosen for unique grain.
- Apply a marine-grade sealant for maximum weather protection.
- Alternative: a thick butcher block countertop remnant, $50-$150.
5. Galvanized Tub Drink and Serve Station
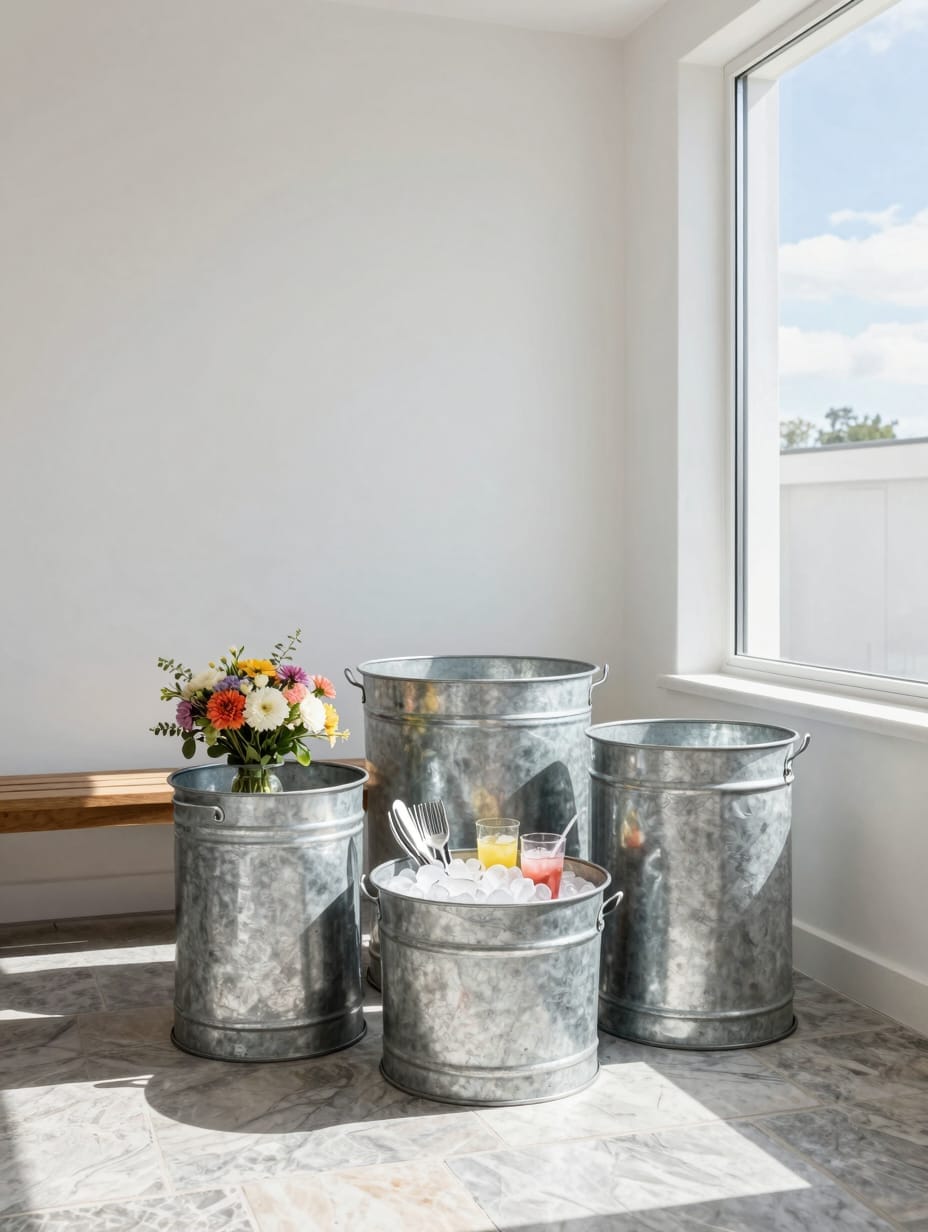
This is a classic for a reason – and I’ve used it countless times for outdoor gatherings. You cluster varying-sized galvanized metal tubs, one large one filled with ice and drinks, another smaller one holding utensils or napkins. They’re strategically placed on the patio next to a simple garden bench.
The metallic sheen catches the bright sunlight, and I always add a vibrant floral arrangement nearby for a pop of color. It’s simple, but it works every single time.
How to Get This Look
- Use a 15-gallon tub for drinks and a 5-gallon tub for smaller items.
- Galvanized Tub, $15-$40 per tub, chosen for rust resistance.
- Place the largest tub on an overturned crate for easier access.
- Alternative: plastic storage bins, $5-$15 each.
6. Simple Outdoor Sink with Barrel Base
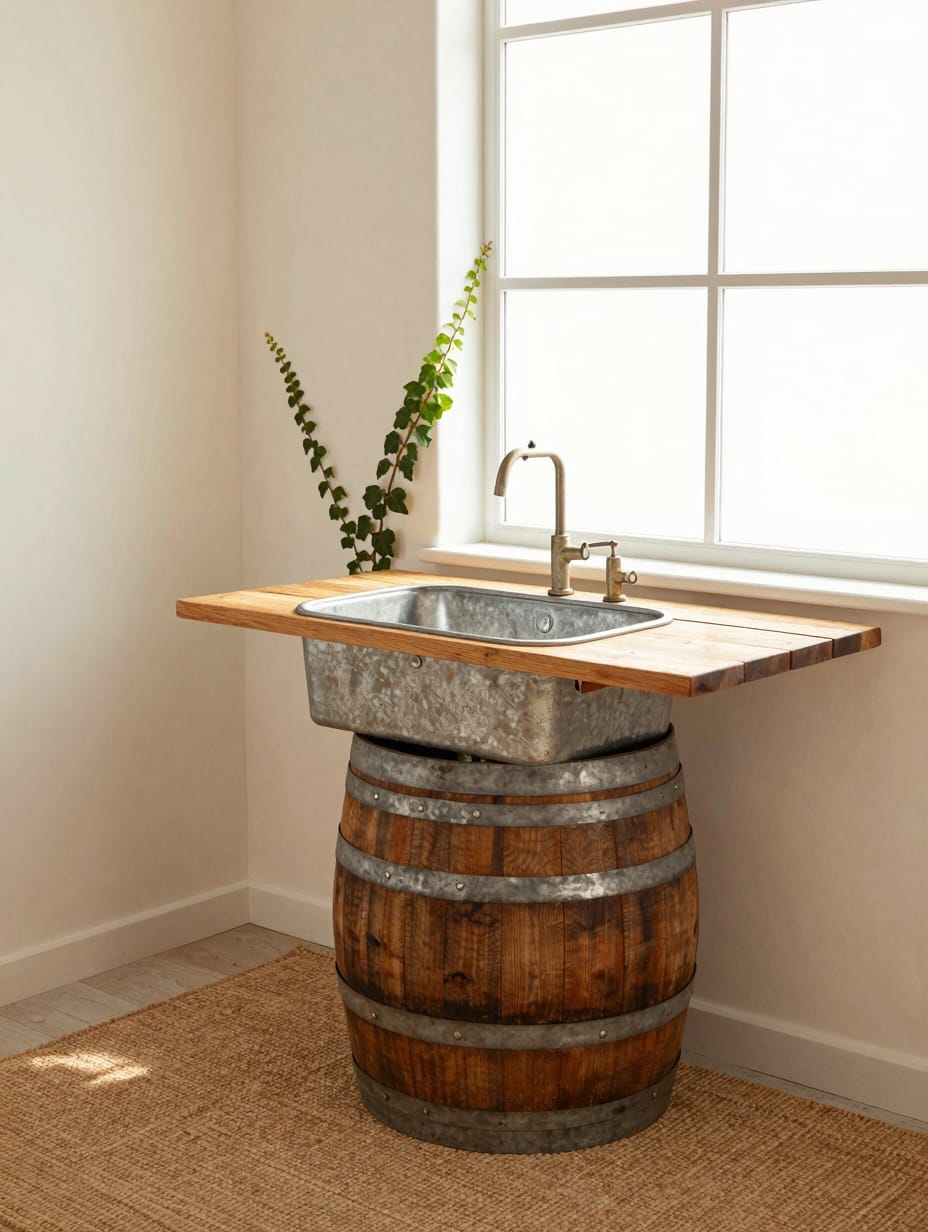
Full disclosure: I actually tried to make this myself for a family reunion, and it was a bigger project than I expected! It’s a charming, functional outdoor sink made from a repurposed old metal basin set into a wooden countertop. The entire unit is supported by a robust whiskey barrel, cleverly concealing the plumbing.
Getting the basin to fit snugly and ensuring proper drainage was a challenge, but I eventually got it done. The rustic hand-pump faucet was a nice touch, and it made handwashing outdoors so much easier. The weathered wood of the barrel looked fantastic in the golden evening light.
How to Get This Look
- Cut a countertop opening precisely for your repurposed basin.
- Whiskey Barrel, $80-$150, for its rustic appeal.
- Ensure the countertop is sealed with a waterproof finish.
- Alternative: a large plastic drum, $20-$50.
7. Brick and Paver Pizza Oven Pad
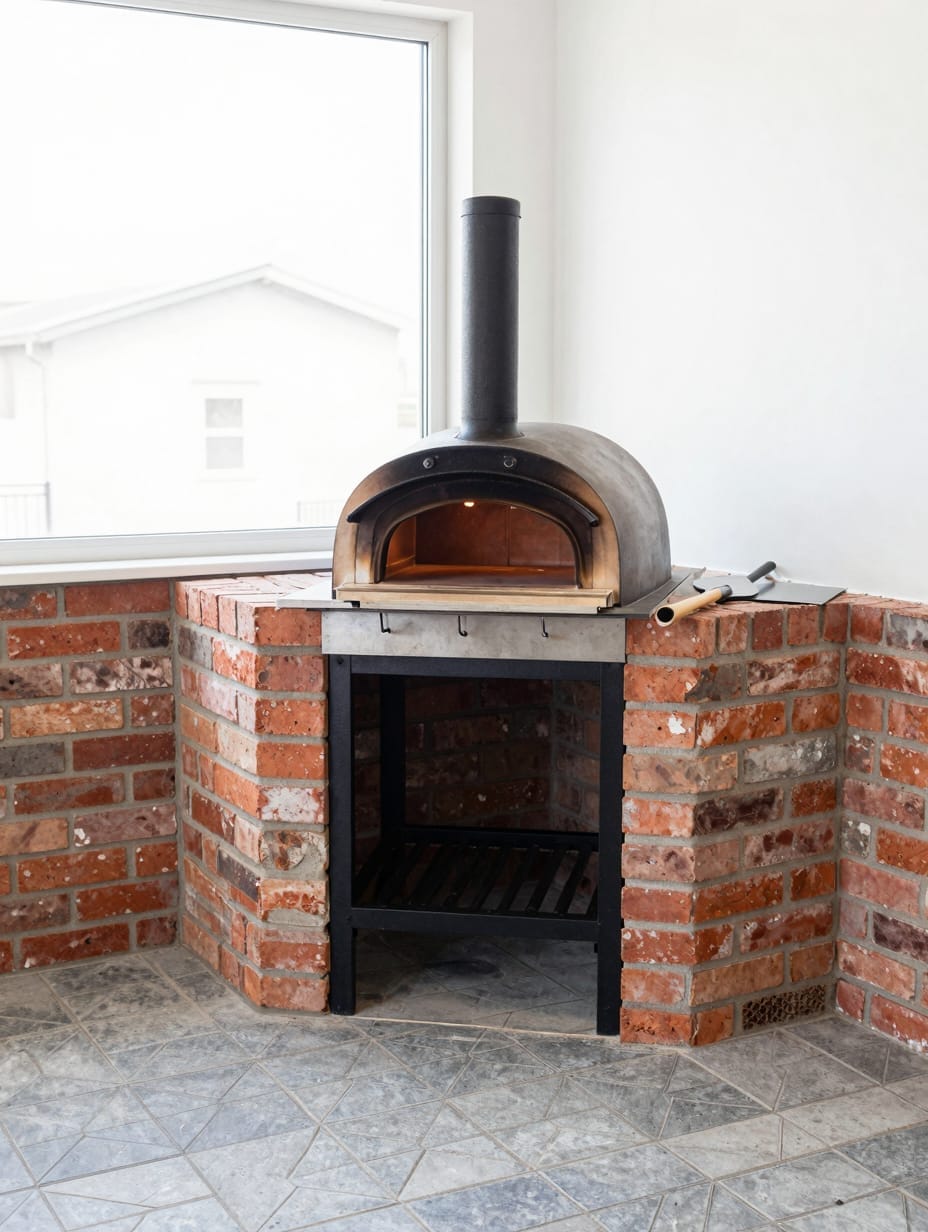
I saw a friend create this for their portable pizza oven, and it made the whole setup look so much more professional. It’s a dedicated area for the oven, defined by a neat arrangement of red bricks and grey pavers. The small, dome-shaped oven sits prominently on top, with a few essential tools nearby.
The patchwork of geometric pavers contrasted nicely with the rough texture of the bricks. When the oven was lit, a warm, inviting glow emanated, promising deliciousness.
How to Get This Look
- Lay a 3×3 foot paver base for a stable pizza oven foundation.
- Fire Bricks, $1-$3 per brick, for heat resistance.
- Create a border with red landscape bricks for visual definition.
- Alternative: gravel or crushed stone base, $10-$30 per bag.
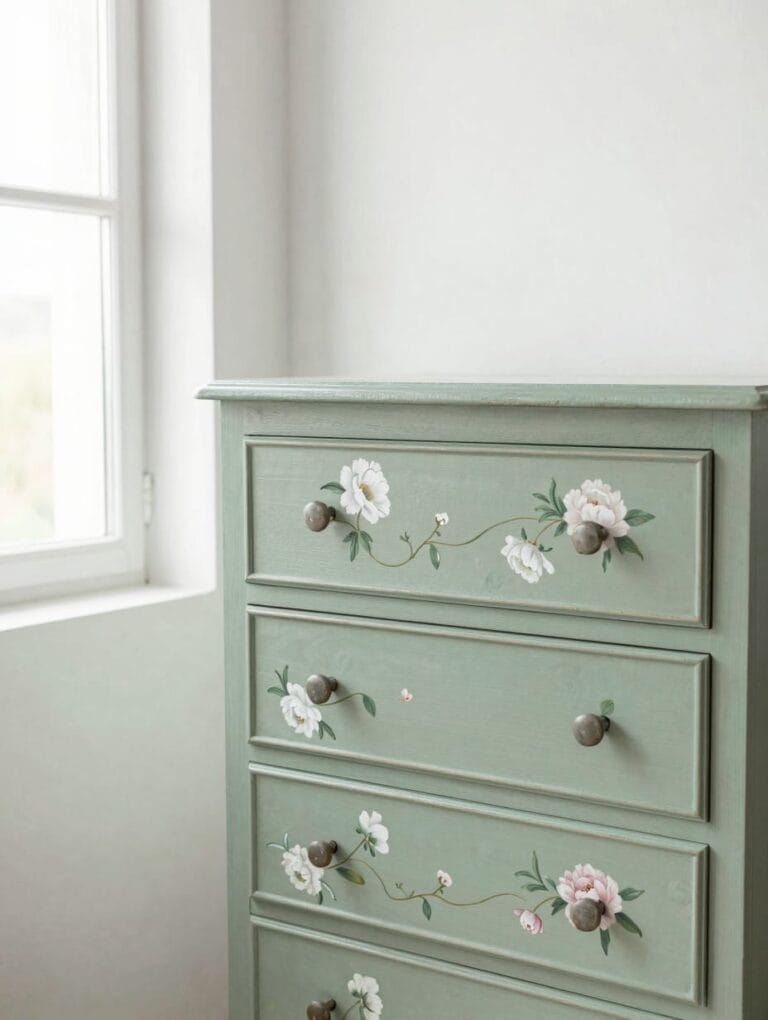
8. Repurposed Dresser as a Functional Buffet
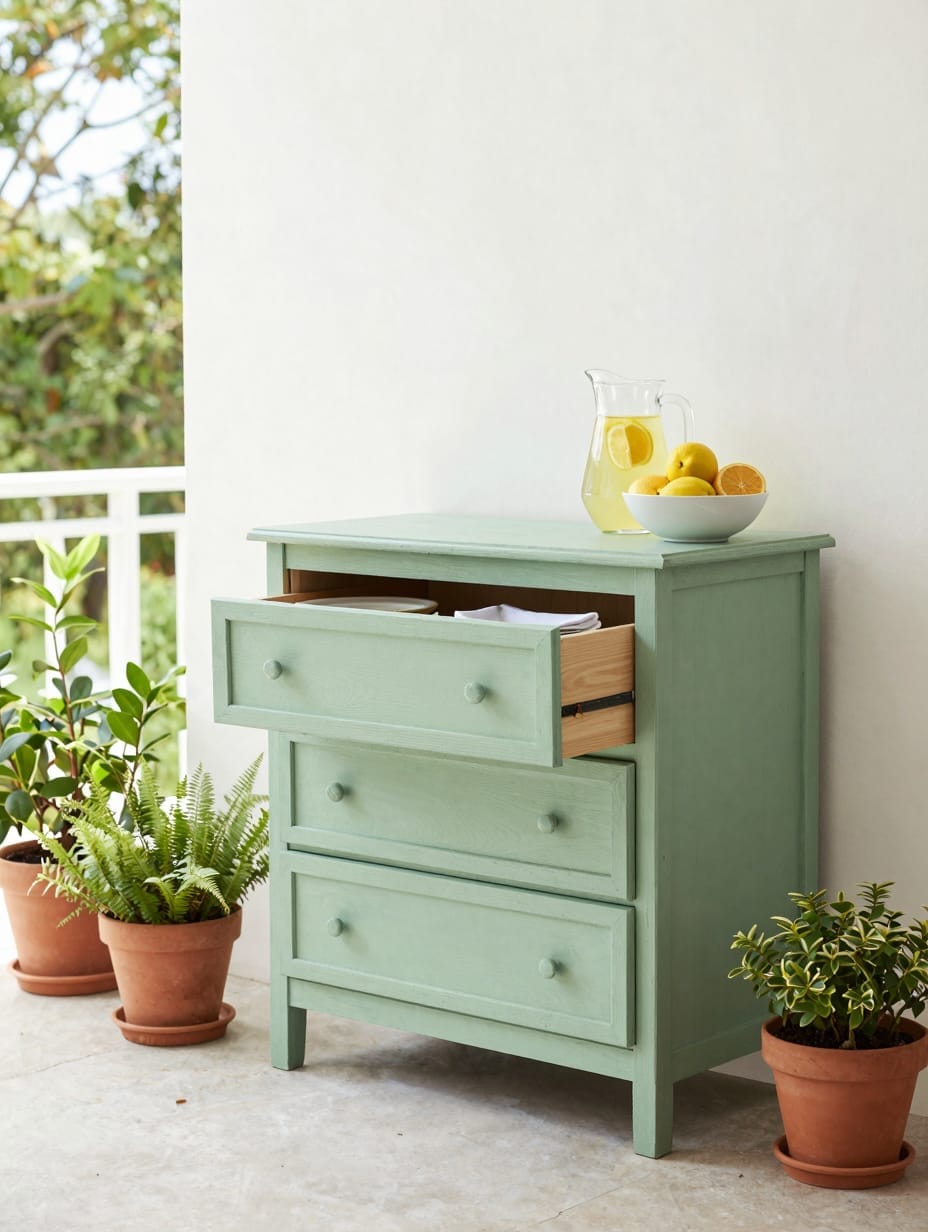
My sister transformed an old wooden dresser into this, giving it a fresh coat of weather-resistant paint in a soft sage green. It now serves as an outdoor buffet, holding serving platters and napkins in its drawers. A pitcher of lemonade and a bowl of fruit always seem to sit on top.
It’s set on her sunny patio, and she always adds potted plants around its base, which makes it feel perfectly integrated into the garden. Just remember to line those drawers to keep things protected.
How to Get This Look
- Clean and sand the dresser thoroughly before painting.
- Outdoor-Grade Paint, $30-$60 per quart, for weather durability.
- Choose a muted sage green or a soft cream for a calming look.
- Alternative: a painted plastic storage cabinet, $40-$80.
9. Folding Table Prep Station with Canopy Shade
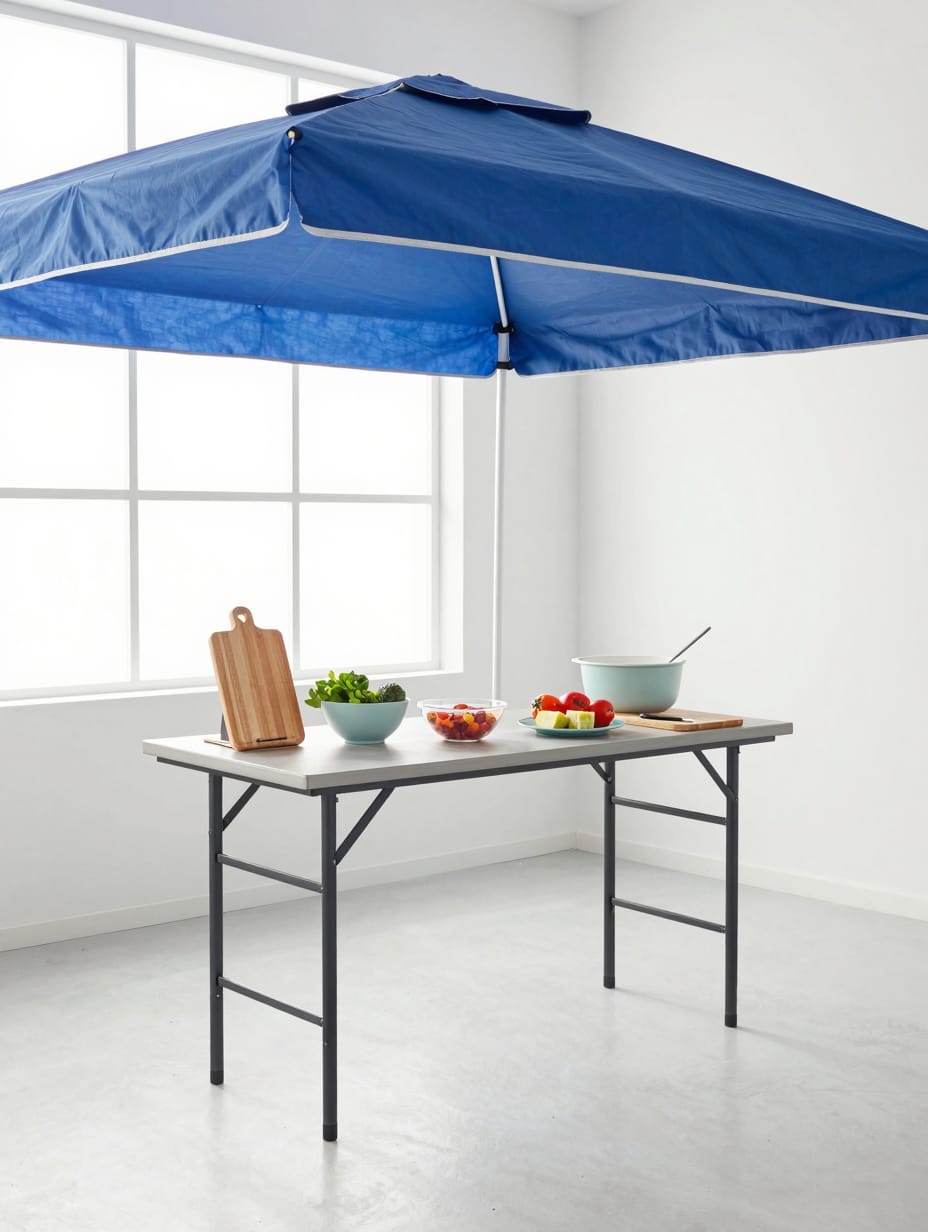
This idea came from a catering setup I observed, and I realized how brilliant it was for a home kitchen. It’s a simple, yet highly functional folding table acting as a central prep station, covered by a vibrant blue canopy providing ample shade. Assorted cutting boards, mixing bowls, and ingredients are always neatly arranged.
The canopy fabric billows gently in a light breeze, casting a pleasant, cool shade. It looks so crisp and ready for action, a truly smart way to create a temporary workstation.
How to Get This Look
- Set up a 6-foot folding table as your primary prep surface.
- Heavy-Duty Folding Table, $40-$100, for portability.
- Select a vibrant navy or a sunny yellow canopy for visual appeal.
- Alternative: a large beach umbrella, $20-$50.
10. Vertical Herb Garden Wall for Fresh Ingredients
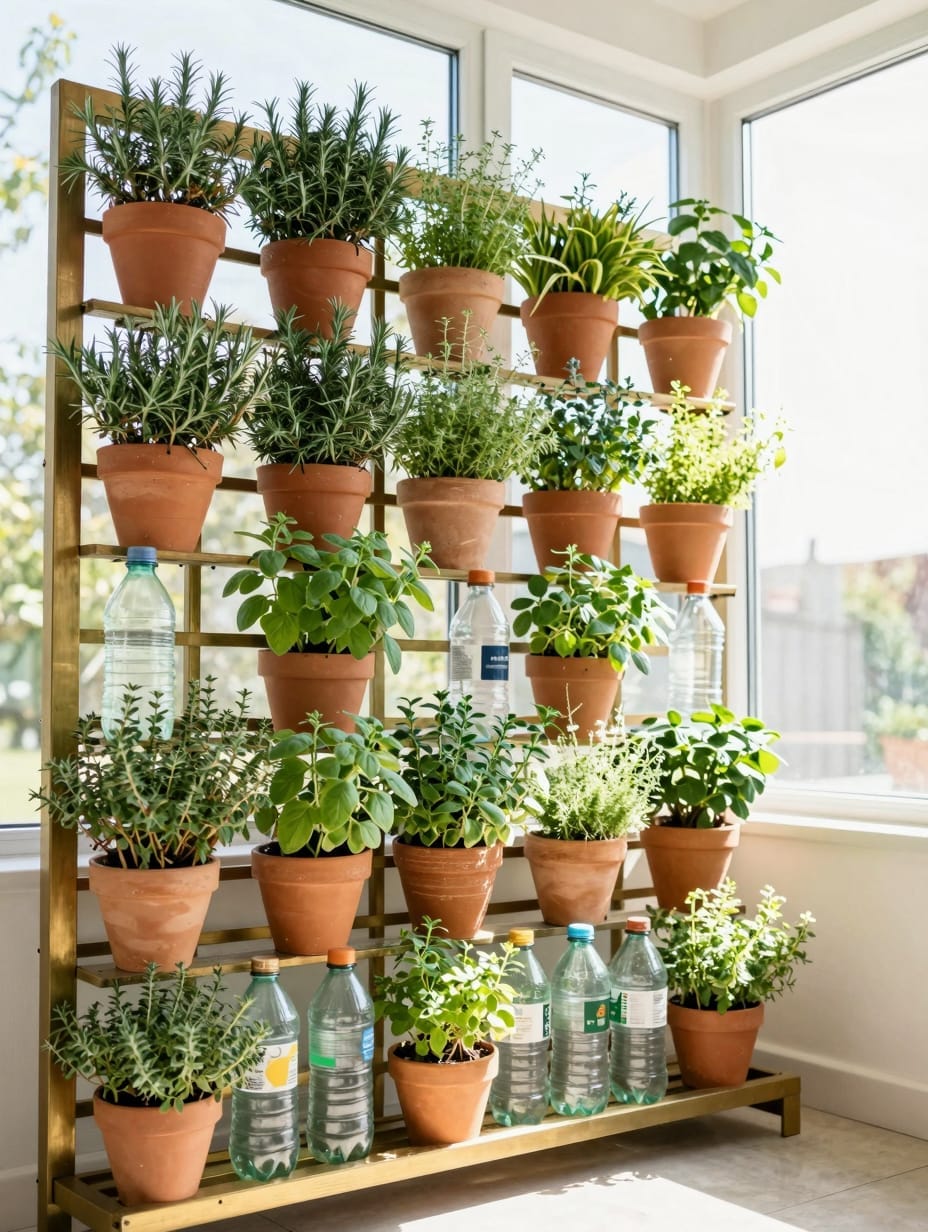
I saw this vertical herb garden at a community garden, and it instantly struck me as a brilliant budget outdoor kitchen idea. It was constructed from repurposed plastic bottles mounted on a wooden lattice, teeming with aromatic herbs like rosemary and thyme. This lush green wall served as a living backdrop to a small outdoor cooking area.
Sunlight filtered through the leaves, creating beautiful highlights, and the air around it felt so fresh and fragrant. Plus, having fresh herbs steps away from the grill? Indispensable.
How to Get This Look
- Build a simple wooden lattice, 4×6 feet, to support pots.
- Small Terracotta Pots, $2-$5 each, for breathability.
- Arrange a mix of culinary herbs like basil, mint, and chives.
- Alternative: repurposed plastic soda bottles, free.
11. DIY Concrete Countertop on Repurposed Base
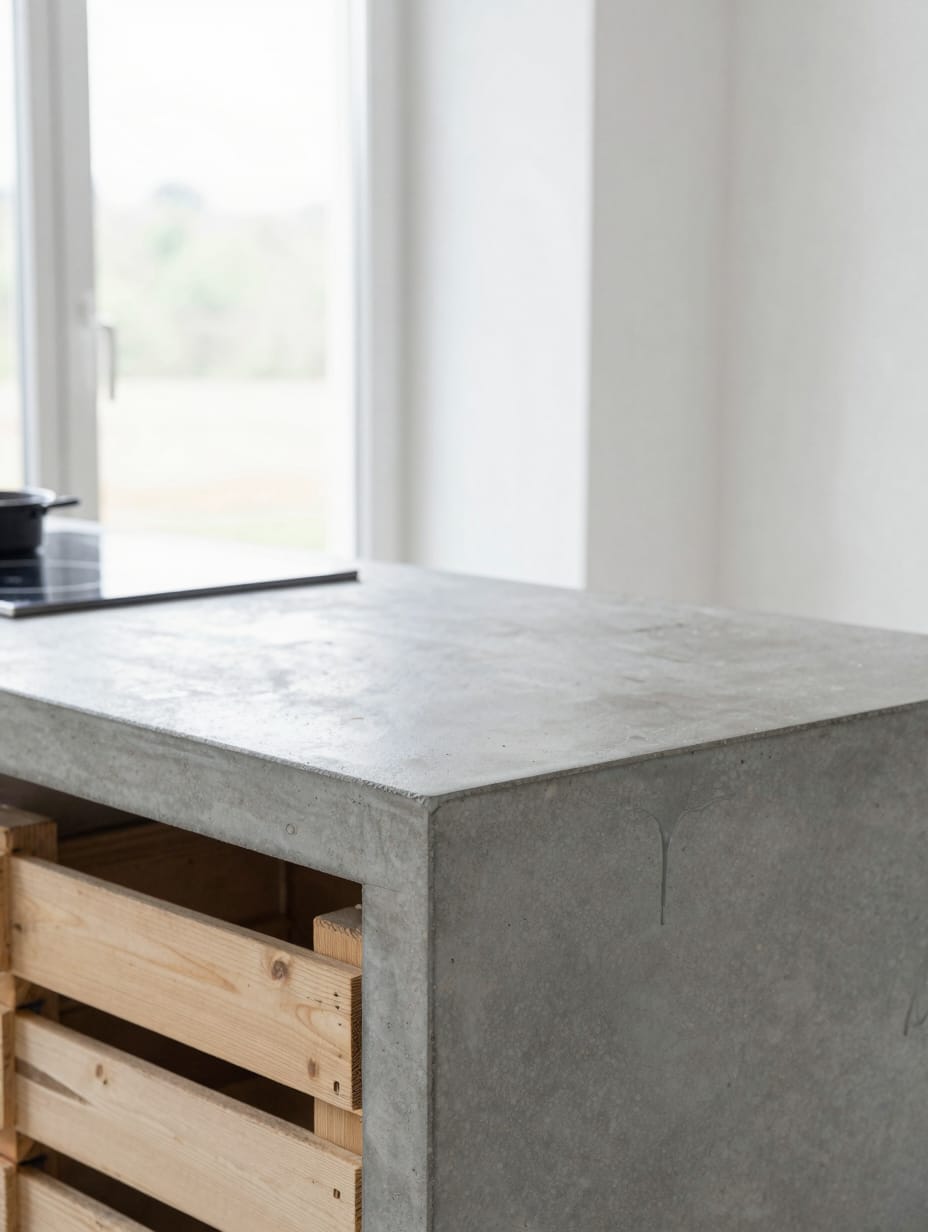
This was a labor of love for me last spring, and it turned out better than I imagined, though the learning curve was real. I wanted a modern outdoor countertop, so I poured a sleek, smooth concrete slab onto a sturdy base constructed from old wood crates I found. The cool grey concrete offered such a minimalist look, contrasting with the rustic base.
Getting the concrete perfectly smooth took patience, and sealing it properly was key—I used a high-gloss concrete sealer that really brought out its character. A small, portable induction cooktop sits on it now, and it works wonderfully.
How to Get This Look
- Construct a sturdy mold for a 2×4 foot concrete slab.
- Concrete Mix, $5-$10 per 50lb bag, for durability.
- Integrate crushed glass into the mix for a subtle sparkle.
- Alternative: large patio pavers glued together, $20-$50.
12. Overhead String Lighting for Magical Ambiance

This isn’t a cooking surface, but it’s essential for any outdoor kitchen area. Hundreds of delicate, warm-toned string lights crisscrossing above a cozy outdoor dining and cooking space create pure magic. They truly create a canopy of glowing constellations against the twilight sky.
Below, a simple picnic table was set for an evening meal when I last saw this setup. The overall impression was one of enchanting warmth—perfect for extending those al fresco dining moments well into the night.
How to Get This Look
- Hang weatherproof string lights in a zig-zag pattern over your dining zone.
- Weatherproof String Lights, $20-$60 per 25-foot strand, for outdoor rating.
- Use matte black extension cords for a seamless look.
- Alternative: solar-powered fairy lights, $10-$30 per strand.
13. Rolling Beverage Cart from a Repurposed Bar Cart
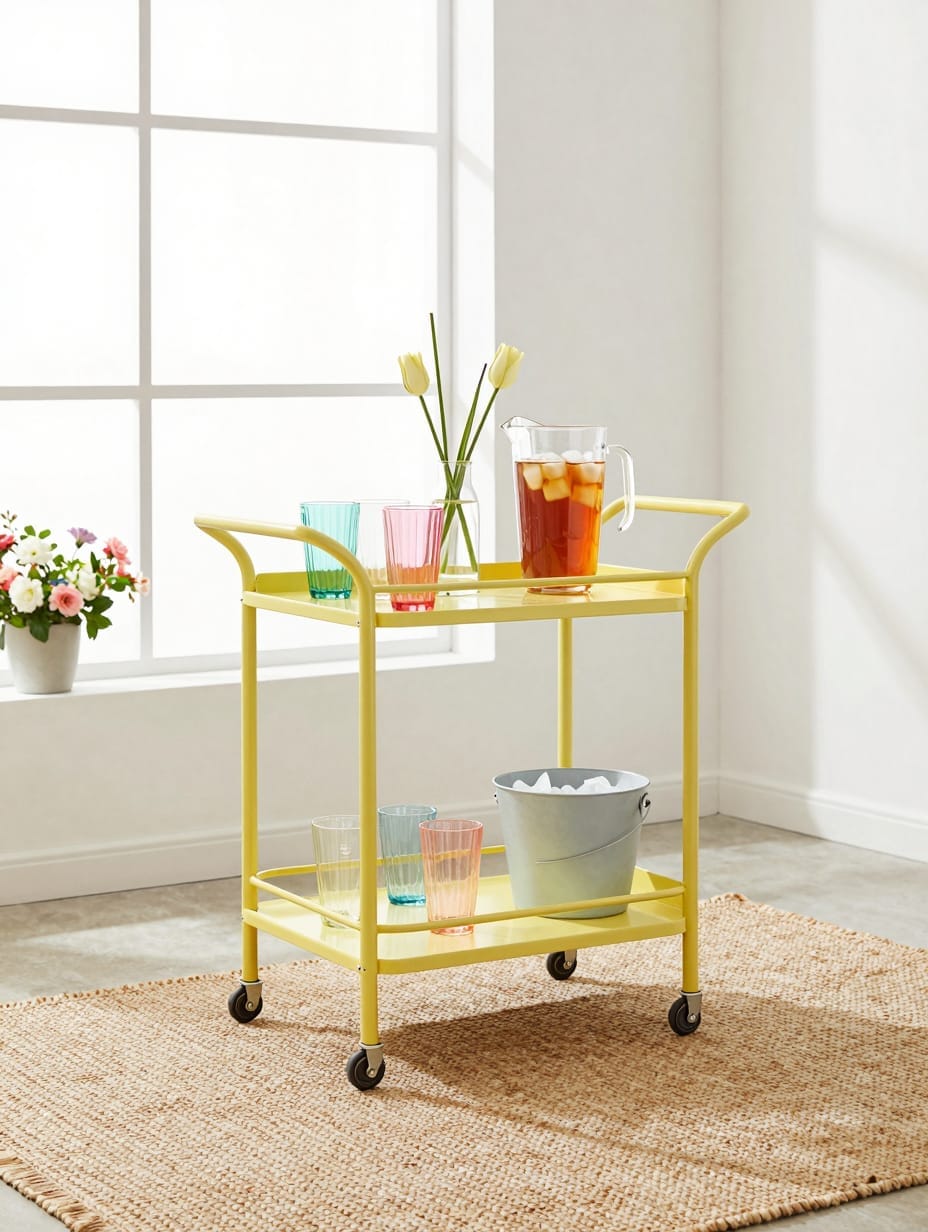
My friend bought an old metal bar cart for $20 at a garage sale and restored it into this. She painted it a cheerful yellow, and it now functions as a mobile outdoor beverage station. It holds a variety of colorful glasses, a pitcher of iced tea, and a small ice bucket.
The cart’s wheels mean she can easily move it wherever the party is happening. It always makes her sunny patio feel more lively, especially with the blooming flowers in the background.
How to Get This Look
- Clean and sand the vintage cart before applying outdoor-grade spray paint.
- Outdoor Spray Paint, $5-$10 per can, for weather resistance.
- Accessorize with bright, colorful plastic tumblers for outdoor safety.
- Alternative: a plastic garden cart, $30-$70.
14. Shelving Unit from Reclaimed Wood and Pipes
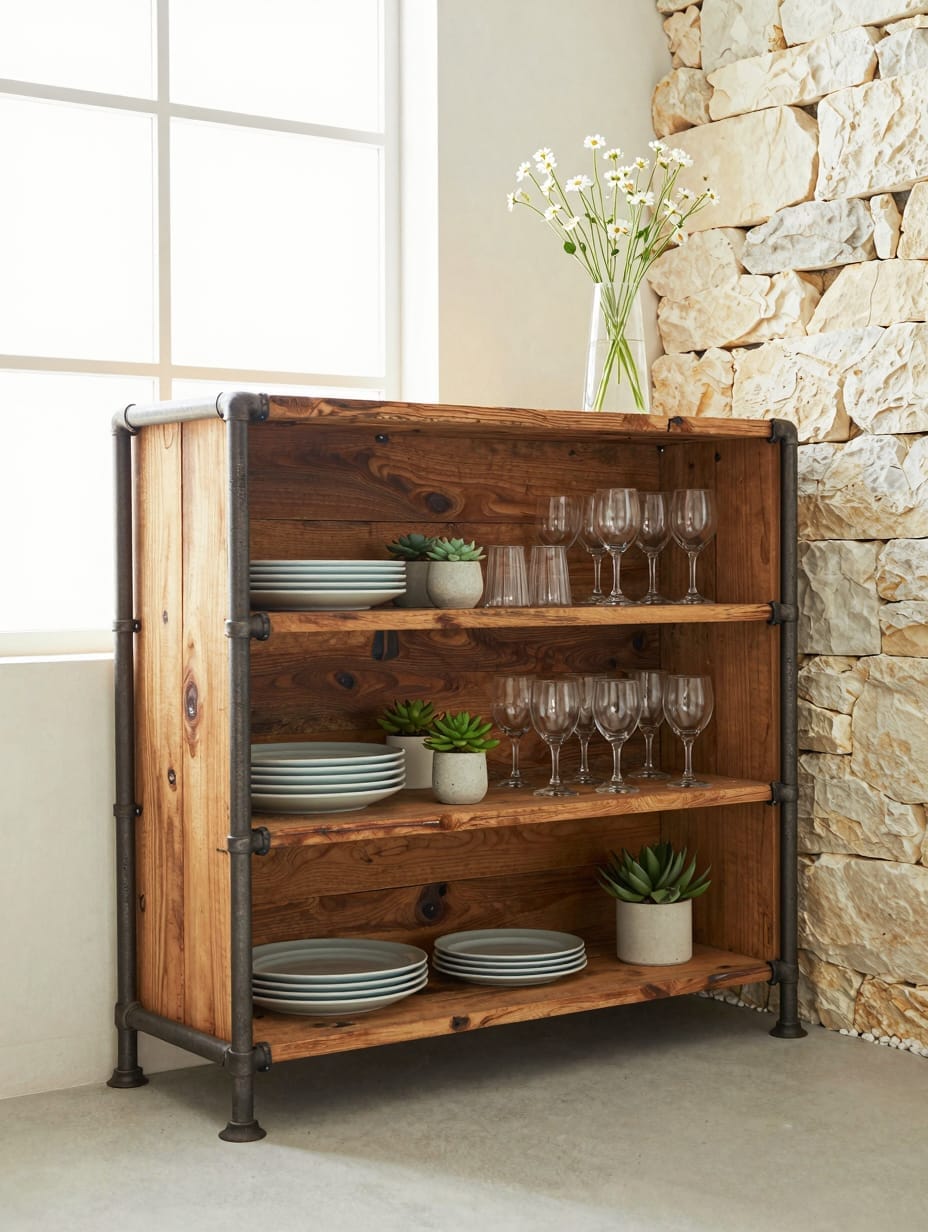
I actually sourced the reclaimed wood for this project myself, and it took ages to find pieces that were both sturdy and aesthetically pleasing. This industrial-chic shelving unit, made from weathered reclaimed wood planks and dark metal pipes, provides open storage for plates, glasses, and spices. It stands against a natural stone wall in my cousin’s yard, adding so much texture.
The warm afternoon light illuminates the varied grains of the wood and the metallic sheen of the pipes. Getting the pipes to align perfectly was a bit of a struggle, but the final result is really solid.
How to Get This Look
- Cut reclaimed wood planks to a consistent 12-inch depth for shelves.
- Galvanized Pipes, $10-$30 per foot, for industrial strength.
- Seal the wood with a clear, matte outdoor finish to protect it.
- Alternative: painted cinder blocks and wood planks, $30-$70.
15. Chalkboard Menu and Prep Board
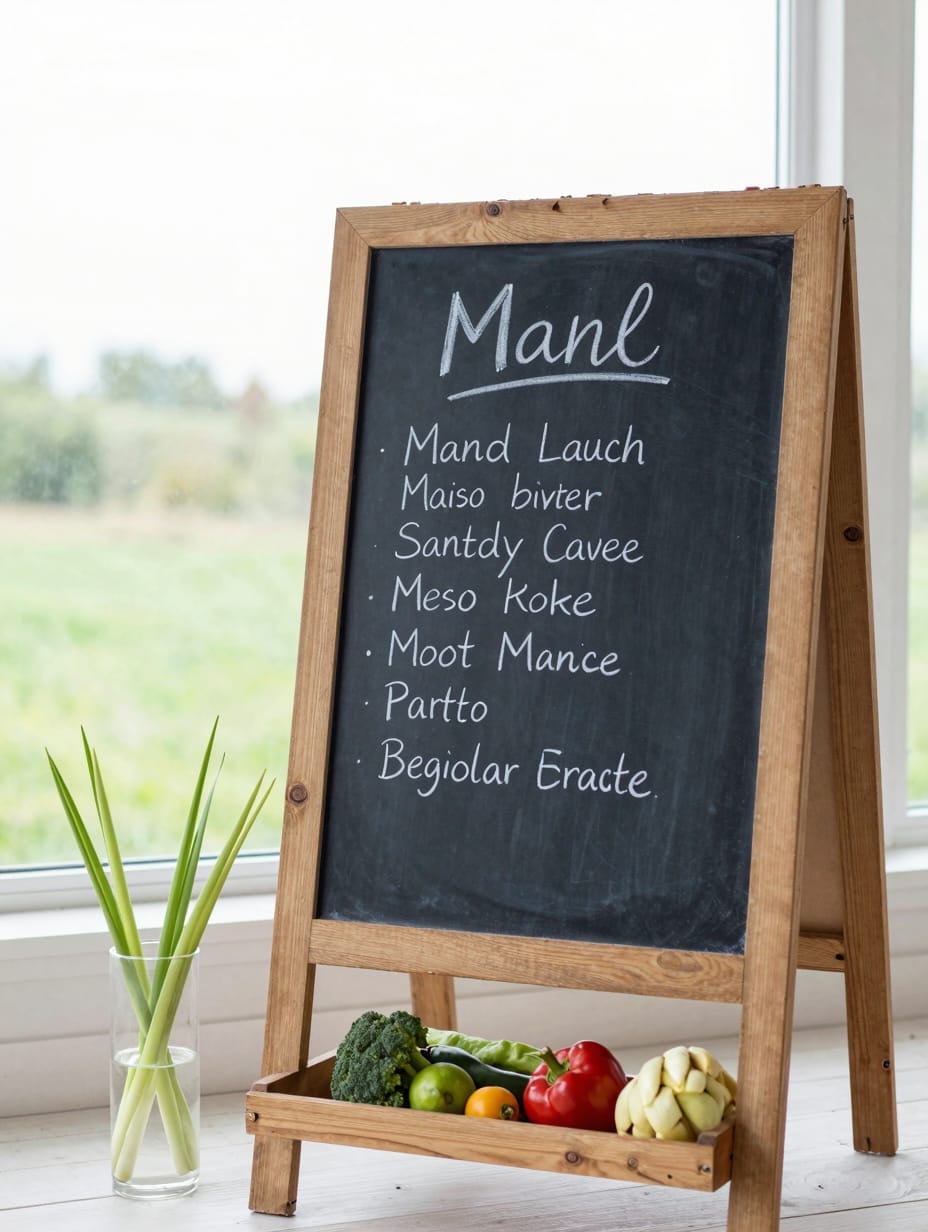
This is a simple addition I always suggest for outdoor entertaining. A large, rustic framed chalkboard, propped against a fence or mounted on a wall, can display a handwritten menu for an outdoor meal. Below it, a small wooden shelf holds fresh produce, ready for preparation.
The chalk writing, even if it’s just my quick notes, always feels inviting. Against a soft blur of greenery, it draws the eye and encourages interaction.
How to Get This Look
- Choose a chalkboard at least 24×36 inches for visibility.
- Large Chalkboard, $20-$50, chosen for a sturdy frame.
- Use white or colorful liquid chalk markers for clear, smudge-proof writing.
- Alternative: a painted plywood board with chalkboard paint, $10-$20.
16. DIY Stone Fire Pit with Cooking Grate
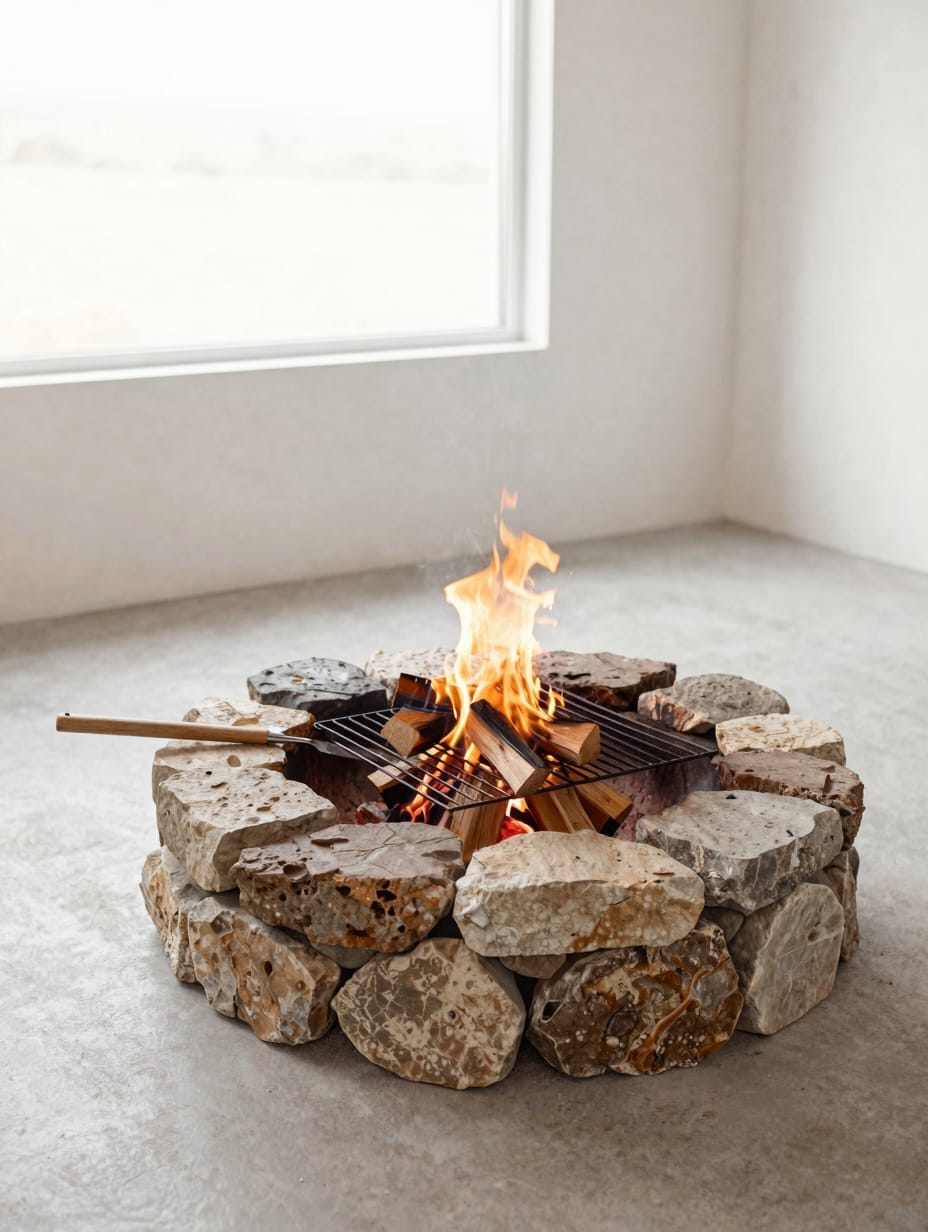
I built one of these in my backyard two years ago, and it’s become the heart of our outdoor space. It’s a circular fire pit constructed from natural, irregularly shaped stones, featuring a simple metal grate that can be placed over the flames for cooking. The flickering fire casts warm, dancing light on the surrounding stones and faces as dusk falls.
Logs are stacked neatly nearby, and a long-handled cooking fork rests on the edge. Sourcing local fieldstones saved me a lot of money, but positioning them just right to make a sturdy wall took some trial and error.
How to Get This Look
- Dig a 6-inch deep, 4-foot diameter pit for your fire pit.
- Local Fieldstones, free-$50 (check local sources), for natural aesthetic.
- Place a heavy-duty grill grate directly over the flames for cooking.
- Alternative: a pre-fab metal fire pit bowl, $60-$120.
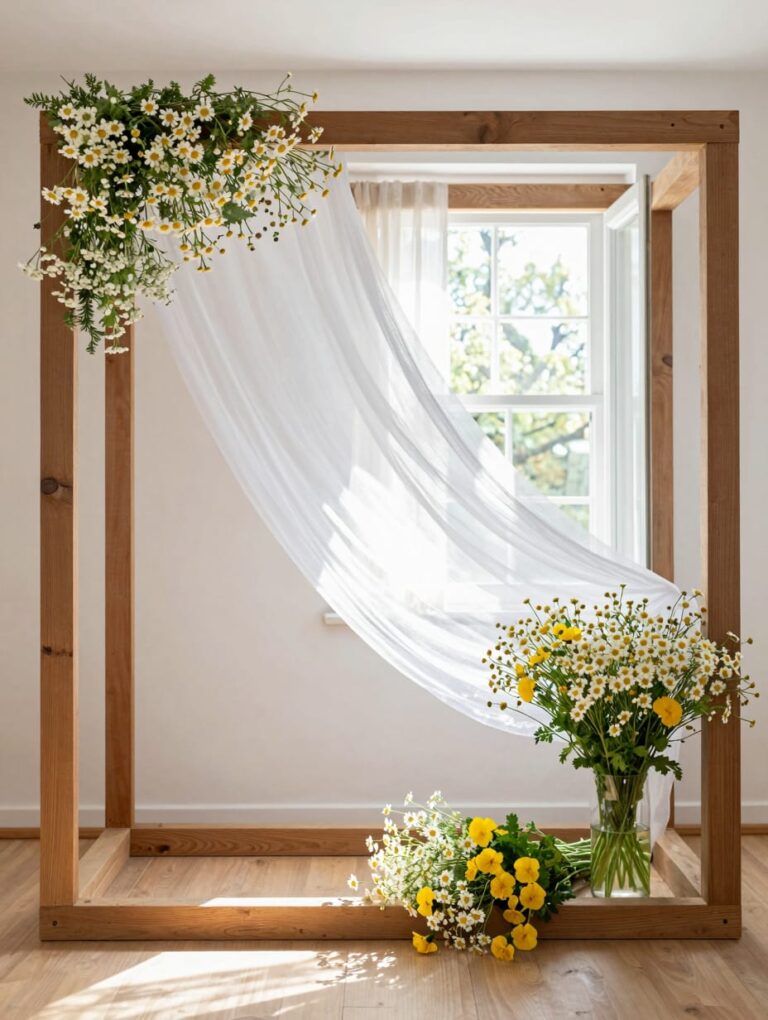
17. Canopy Shade for a Cool Cooking Zone
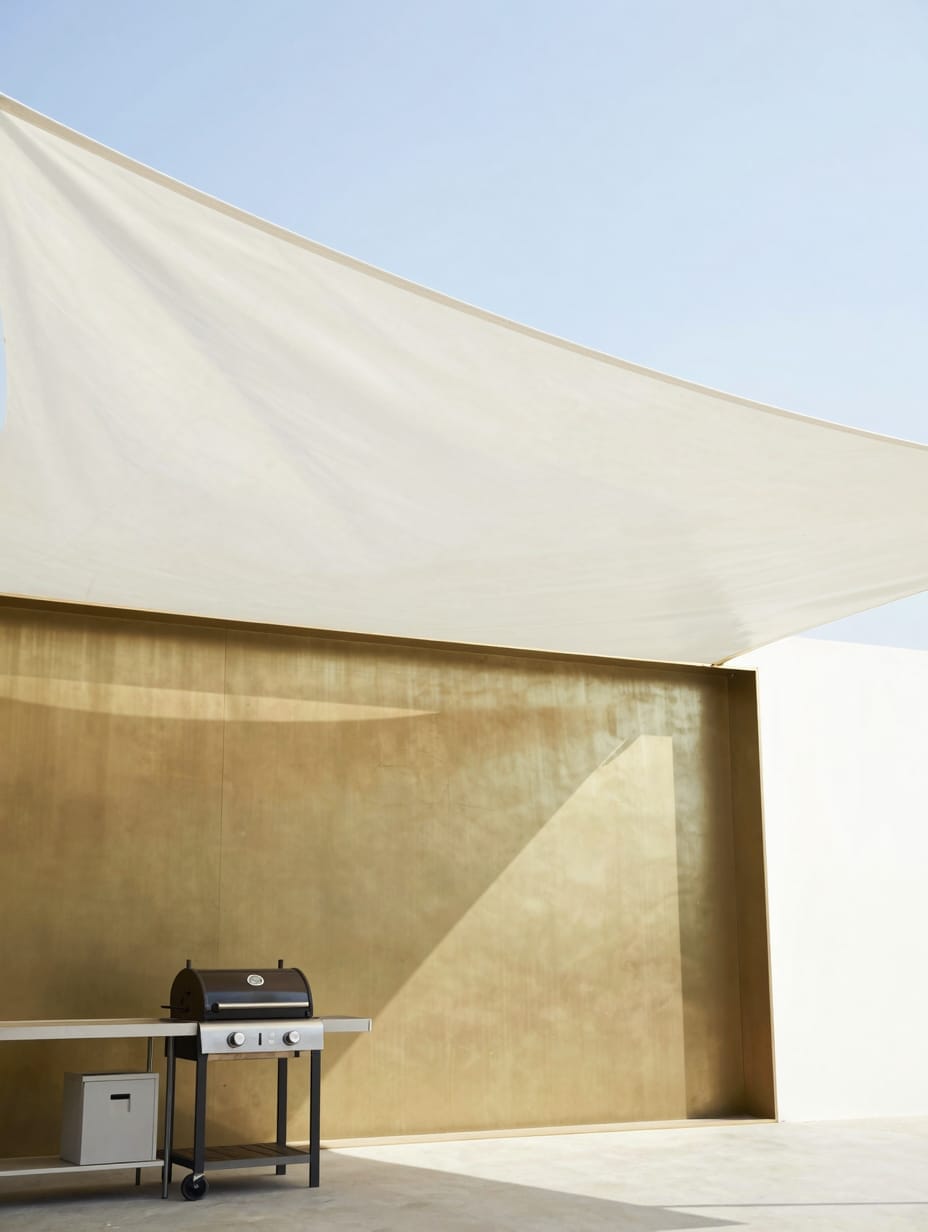
This simple yet elegant fabric canopy is a must for summer cooking. Stretched tautly over a designated cooking area, it provides ample protection from the sun. The white fabric billows gently, creating a bright and airy feel underneath.
A compact grill and a small prep table sit underneath it, always in comfortable shade. The shadows cast by the canopy ensure a cool cooking environment, even on the warmest days.
How to Get This Look
- Install sturdy anchor points at least 8-10 feet high for optimal shade.
- Sun Shade Sail, $30-$80, for UV protection.
- Choose a light-colored fabric like white or beige to reflect sunlight.
- Alternative: a large patio umbrella, $40-$100.
Loved these ideas? Save this post to Pinterest so you can come back to it later.
Simple Ways to Bring These Ideas to Life in Your Home
- **Start Small:** Pick just one budget outdoor kitchen idea that excites you the most and focus on completing it first.
- **Scour Secondhand Stores:** Garage sales, thrift shops, and online marketplaces are goldmines for inexpensive materials.
- **Repurpose with Purpose:** Look at everyday items—like old dressers or pallets—and imagine their outdoor potential.
- **Measure Twice, Buy Once:** Planning saves both money and frustration in DIY projects.
- **Lean on Nature:** Utilize natural elements like potted herbs and existing trees for shade to enhance your space.
Frequently Asked Questions
Can I really build an outdoor kitchen for under $100?
Yes, absolutely! By utilizing reclaimed materials like pallets or cinder blocks and sourcing free items, you can create a functional budget outdoor kitchen for very little. Focus on a single cooking zone like a grill station and add simple prep surfaces to keep costs down.
What materials are best for a durable, budget outdoor kitchen?
Galvanized steel, pressure-treated lumber, and concrete are excellent choices for durability on a budget. These materials are weather-resistant and can be sourced affordably. Ensure any wood is properly sealed, and concrete is cured and sealed to prolong its life outdoors.
How do I ensure my DIY outdoor kitchen is safe?
Safety starts with planning. Ensure all cooking appliances are on level, non-combustible surfaces. Maintain clear clearances from walls and fences. Proper ventilation is key, especially for grills. Always consider electrical and gas lines if integrating those, and consult professionals for complex installations.
How can I add shade to my budget outdoor kitchen without much cost?
Simple solutions like sun shade sails or large patio umbrellas are effective and affordable. You can also strategically place your kitchen near existing trees for natural shade. Pop-up canopies offer flexible, temporary shade during peak sunny hours or unexpected rain.
Common Myths About Budget Outdoor Kitchen
Myth: Budget outdoor kitchens always look cheap.
False! With thoughtful design and material choices, a budget outdoor kitchen can look incredibly stylish. Focusing on clean lines, natural textures like wood and stone, and cohesive color palettes elevates the aesthetic far beyond the cost. Repurposed items often add unique character.
Myth: You need professional help for an outdoor kitchen.
Not necessarily. Many budget outdoor kitchen ideas are designed for DIY enthusiasts, requiring basic tools and skills. My own cinder block grill station and concrete countertop were challenging but definitely doable without professional contractors. For complex plumbing or electrical, however, a professional is always a good idea.
Myth: Budget outdoor kitchens lack functionality.
This isn’t true. Functionality comes from smart planning. Even a simple setup with a grill, a small prep surface, and some storage can be incredibly functional. Prioritize your most essential outdoor cooking needs, and build around those. Remember, sometimes less clutter means more usable space.
Budget Outdoor Kitchen: Final Thoughts
Building a budget outdoor kitchen is less about grand designs and more about smart solutions. I hope these ideas spark your creativity for crafting a functional, beautiful al fresco space without financial strain. Focus on what you need, use what you have, and enjoy the process. Save this post to Pinterest 📌 and start building the apartment you actually want to come home to.