17 Kitchen Island Decor Ideas For A Beautifully Styled And Wonderfully Functional Centerpiece
My kitchen island used to be a graveyard for mail and half-empty water bottles until I realized the power of intentional kitchen island decor. This central hub deserves more than utility; it needs a pulse. I found that mixing height, organic textures, and functional groupings can turn a slab of stone into a curated focal point that anchors the entire room. Let’s look at how to style yours with personality.
Why These Kitchen Island Decor Ideas Are Worth Trying
Styling your island defines the room’s energy without requiring a full renovation or permanent changes. These curated vignettes bridge the gap between a sterile workspace and a lived-in, welcoming home where style meets daily function.
Table of Contents
1. The Oversized Organic Branch Statement
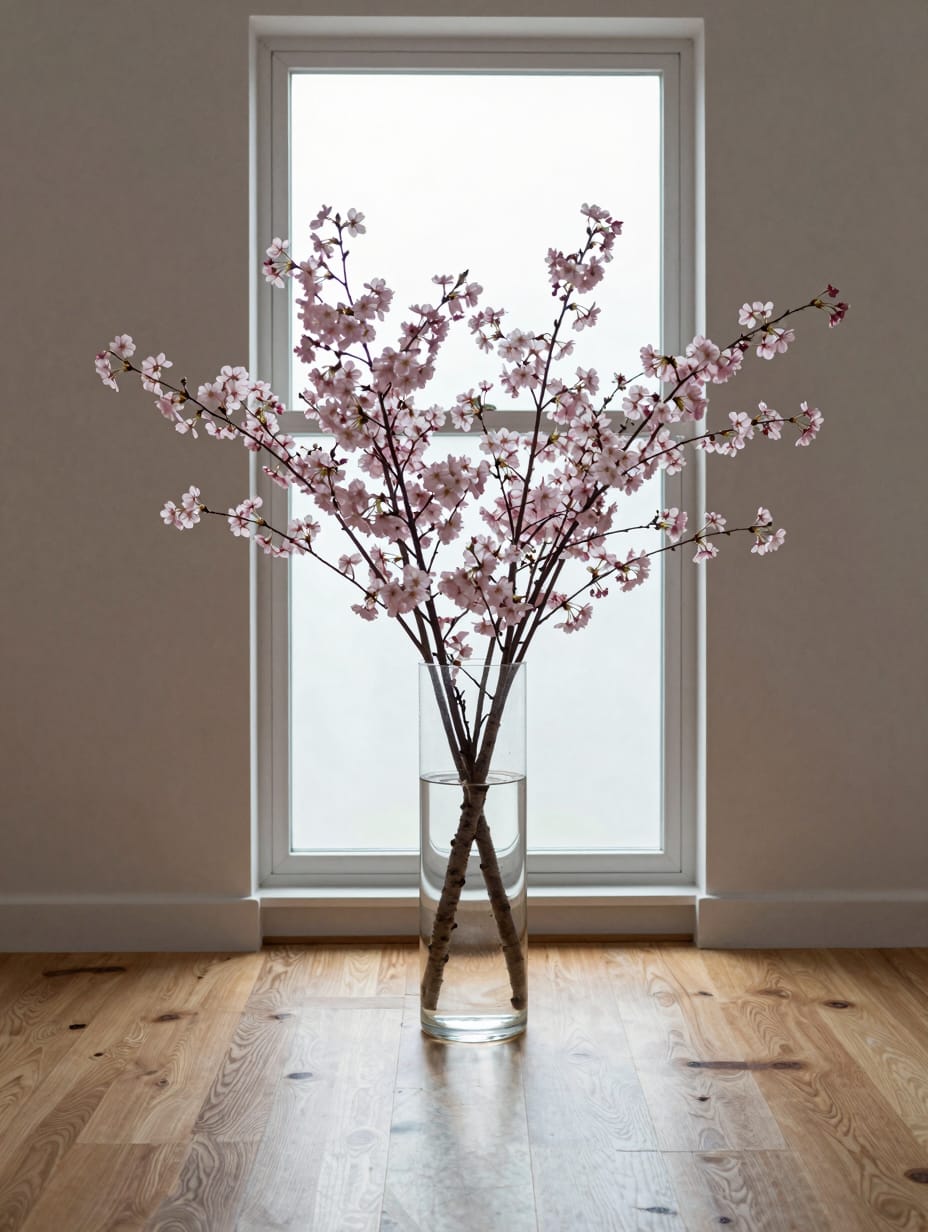
I tried this in my own kitchen last spring, placing a heavy glass cylinder filled with five-foot cherry blossom branches right in the center. The way the sunlight hits the pale pink petals makes the ceiling feel a foot higher than it actually is. It’s a bold move that demands attention but keeps the counter clear for actual cooking.
The water does get cloudy fast, so you’ll be changing it every two days to keep that crisp look. If you have low-hanging pendants, these branches might feel a bit crowded.
How to Get This Look
- Position a 14-inch tall vase exactly 12 inches from the island’s edge to maintain balance.
- Clear glass cylinder vase, $35-$60, choose one with a weighted base for stability.
- Pair dark brown bark with white marble for a high-contrast, architectural vibe.
- Clip branches from your backyard for $0 to get an authentic, local feel.
2. Layered Textures with Hand-Woven Trays

A designer portfolio I follow recently featured a massive seagrass tray that sat flush against a stark white quartz island. The rough fiber of the tray creates a necessary barrier between the cold stone and the matte black ceramic pieces resting inside. It turns a scattered collection of tea canisters into a single, cohesive unit.
Woven trays can trap crumbs in the fibers, so I suggest shaking it out over the sink once a week. It definitely makes wiping down the counters a ten-second job since you just lift the whole tray.
How to Get This Look
- Place a 20-inch circular tray in the center of the island to anchor smaller decorative objects.
- Seagrass or rattan tray, $45-$85, look for a tight weave that won’t unravel.
- Mix matte black stoneware with linen fabrics to create a sophisticated, tactile palette.
- Use a shallow cardboard box lid wrapped in twine for a $5 DIY version.
3. The Culinary Herb Garden Trio
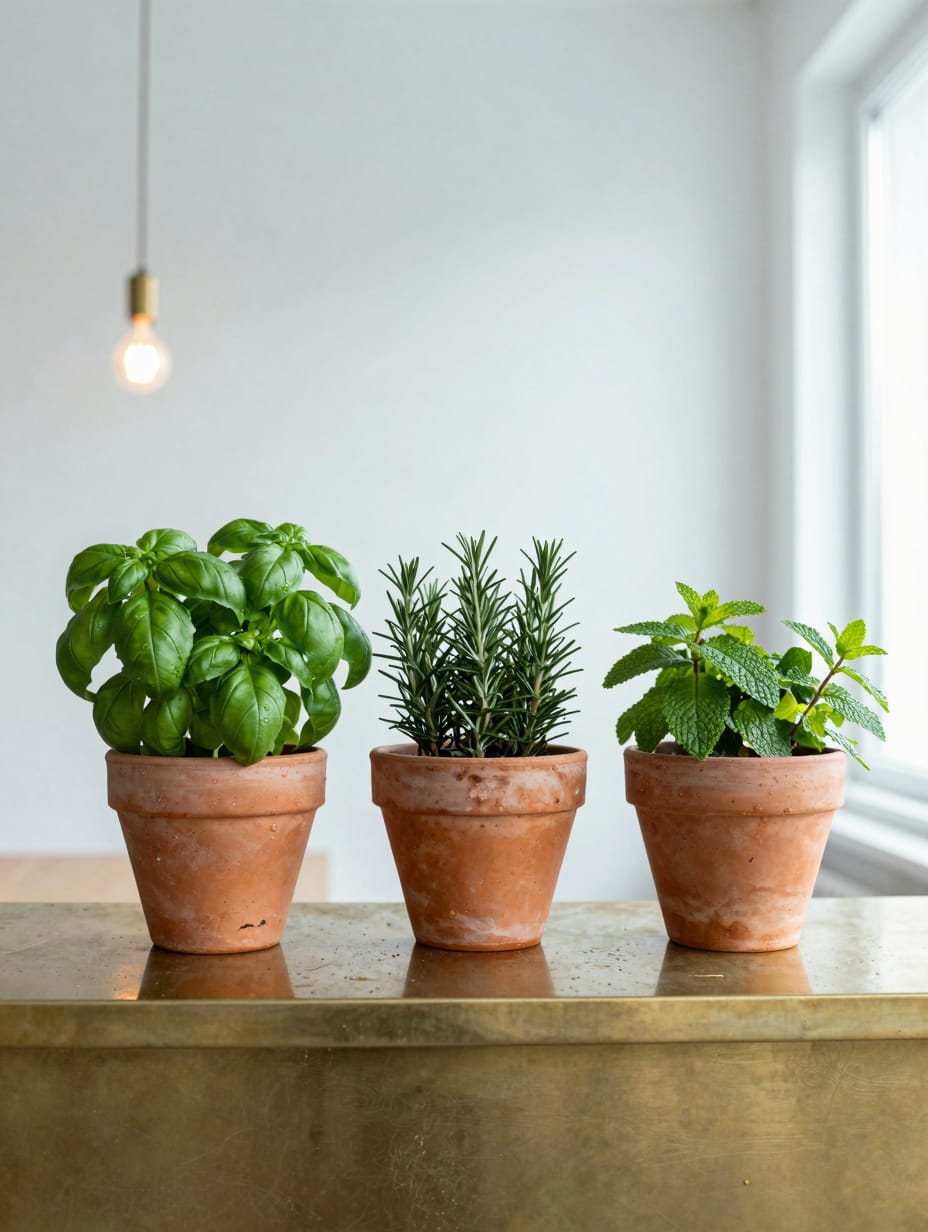
I saw this herb setup at a friend’s house, where three aged terracotta pots lived right next to her prep sink. The earthy orange clay looked vibrant against her sage green cabinets, and the smell of fresh basil was better than any candle. It’s practical decor that you can actually eat, which is the best kind.
Terracotta is porous, so it will develop white salt spots over time, which some people find messy. You’ll need a waterproof saucer underneath to protect your countertop from moisture rings.
How to Get This Look
- Line up three 6-inch pots with 2 inches of space between each for a clean, rhythmic look.
- Aged terracotta pots, $15-$30, select “weathered” finishes for an established, rustic appearance.
- Keep the foliage bright green to contrast with the warm orange tones of the clay.
- Upcycle empty large tomato cans for a $2 industrial herb garden look.
4. Sculptural Fruit Display in Wooden Bowls
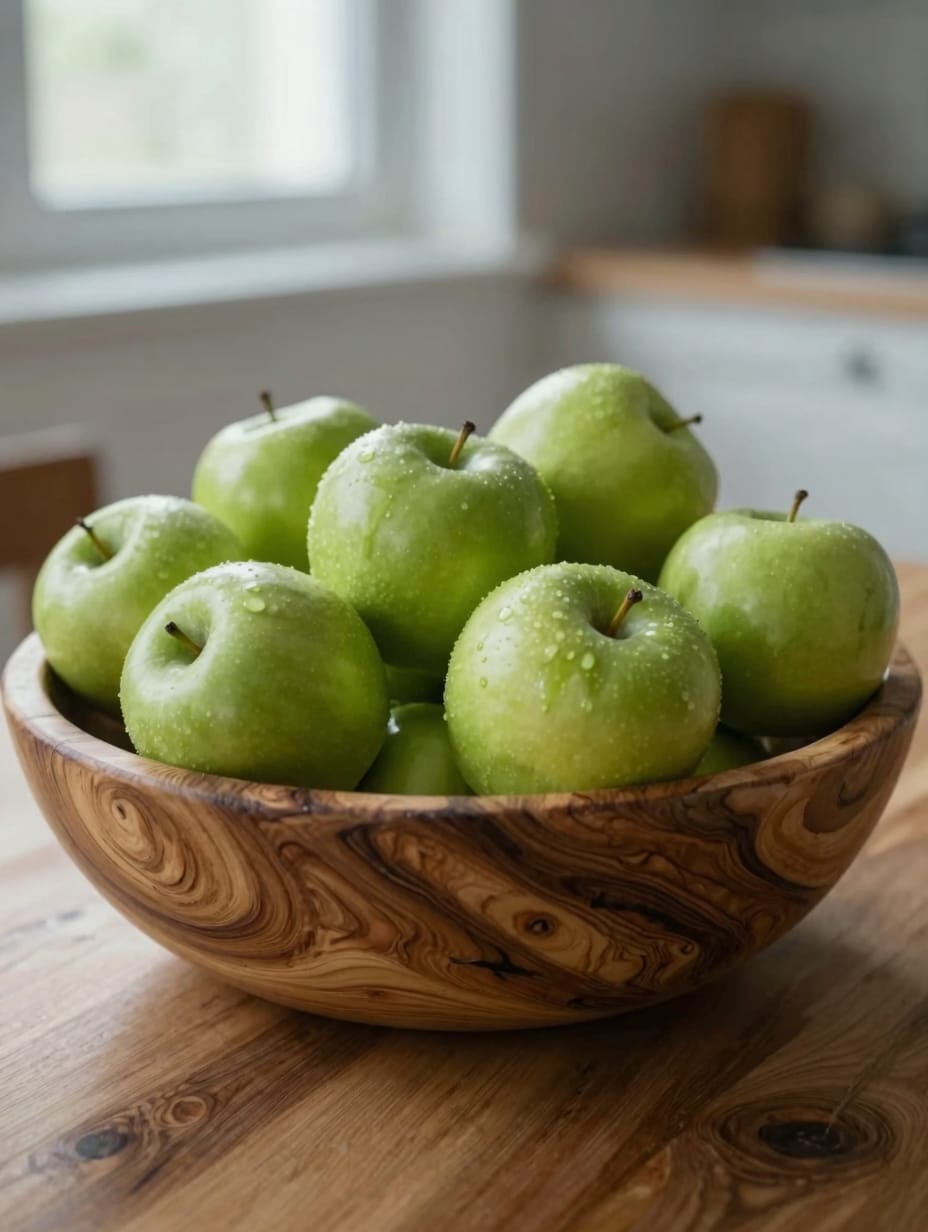
One showroom I visited used a massive, live-edge acacia bowl filled with nothing but bright green apples to break up a monochrome kitchen. The swirling grain of the wood adds a natural warmth that feels much more intentional than a plastic bowl. It’s a simple way to bring in a pop of color that isn’t permanent.
Fruit flies can become an issue if you aren’t rotating the fruit frequently, so keep an eye on the bottom layer. The wood also needs an occasional rub with beeswax to stay glossy.
How to Get This Look
- Choose a bowl at least 15 inches wide to ensure it holds enough fruit to look substantial.
- Acacia wood bowl, $50-$110, prioritize thick walls and visible “live edge” wood grain.
- Stick to one fruit color, like all lemons or all limes, for a minimalist aesthetic.
- Use high-quality resin fruit for $25 if you want the look without the spoilage.
5. Vintage Cookbook and Brass Easel
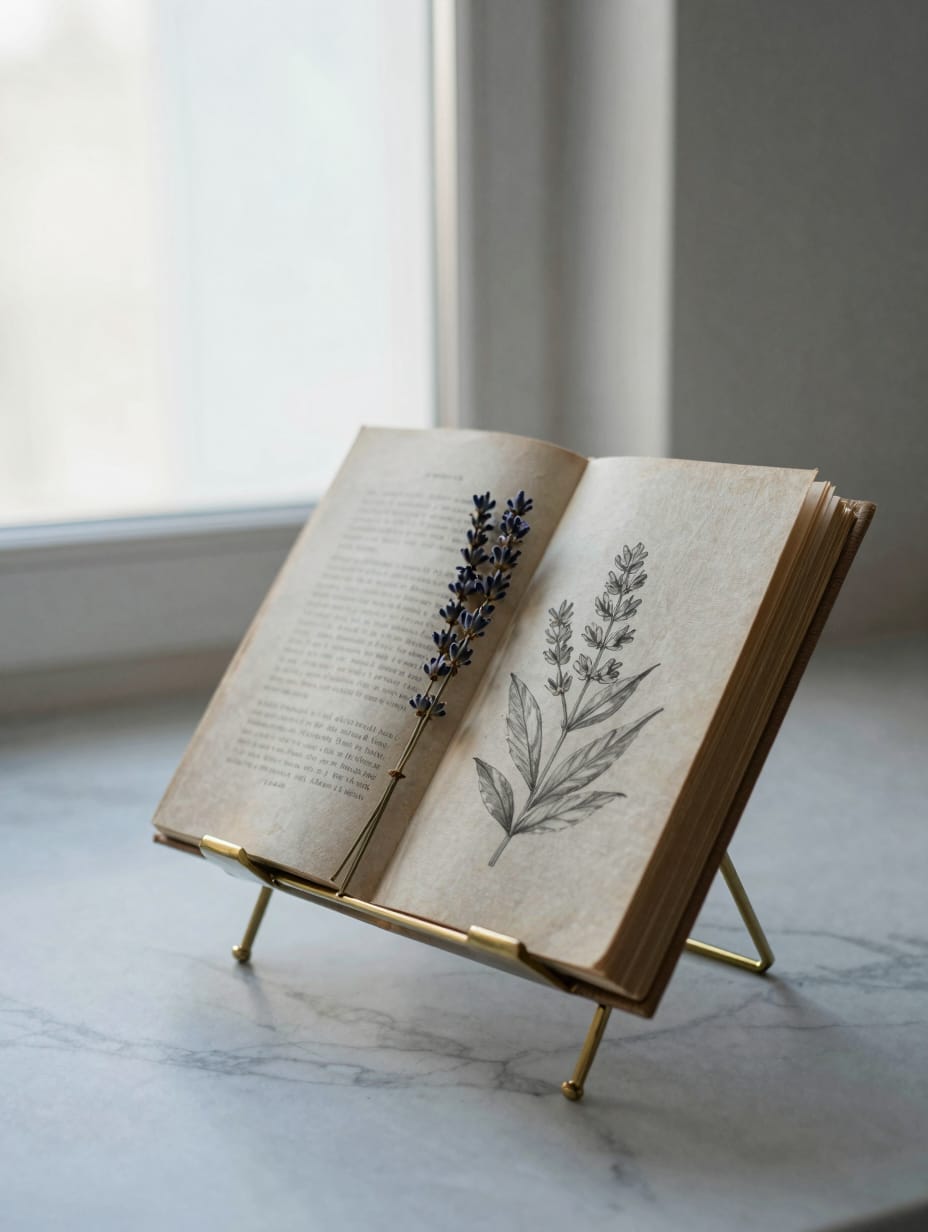
I keep an old, linen-bound cookbook propped open on a brass stand near the end of my island. It’s an easy way to hide a small scratch on the counter while making the space feel like a working kitchen. The metallic brass adds a tiny bit of shine that plays off my cabinet hardware.
Grease splatters are a real risk if you keep this too close to the stove, so be mindful of placement. I usually flip the page every Sunday to keep the “view” fresh.
How to Get This Look
- Angle the easel at 45 degrees toward the main entrance of the kitchen for maximum visibility.
- Solid brass book stand, $40-$75, find one with a heavy base to prevent tipping.
- Look for books with creamy, off-white pages to maintain a soft, vintage feel.
- Scour local thrift stores for $3 vintage hardbacks with interesting typography.
6. The Coffee Bar Nook with Amber Glass
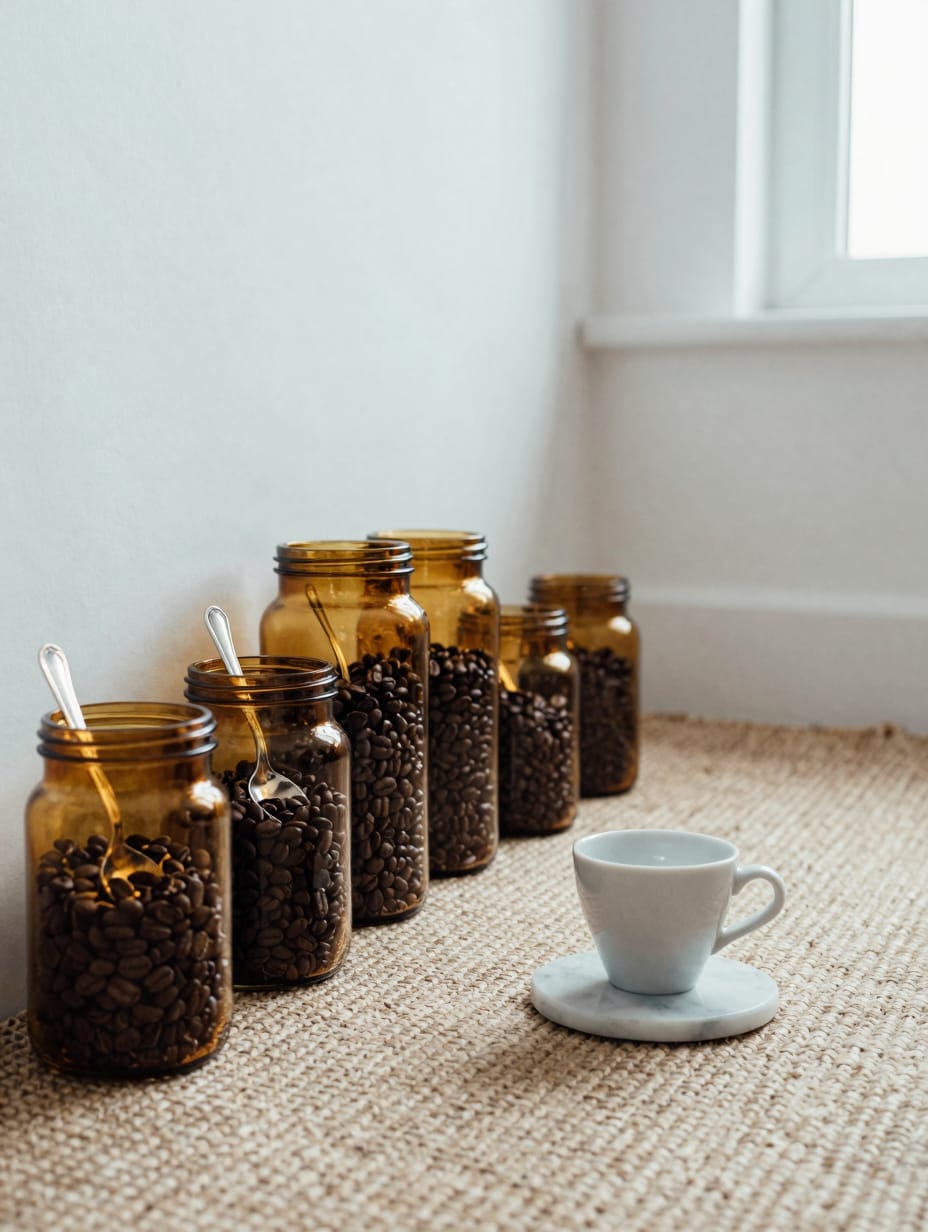
I helped a client set up a tiny coffee station on her island using amber glass apothecary jars for her beans. The warm honey glow of the glass looks expensive when the light hits it, even though the jars were a bargain. It’s an effective use of kitchen island styling ideas for small spaces where you need every inch to work.
Dark glass hides the “dusty” look of coffee grounds better than clear jars do. Just be prepared to wipe fingerprints off the glass fairly often.
How to Get This Look
- Group three jars of varying heights on a small marble coaster to define the zone.
- Amber glass jars, $20-$45, choose airtight lids to keep the coffee fresh.
- Combine the amber glass with silver spoons for a classic, mixed-metal look.
- Reuse empty brown supplement jars for $0 after soaking off the labels.
7. Modern Minimalist Candle Trio
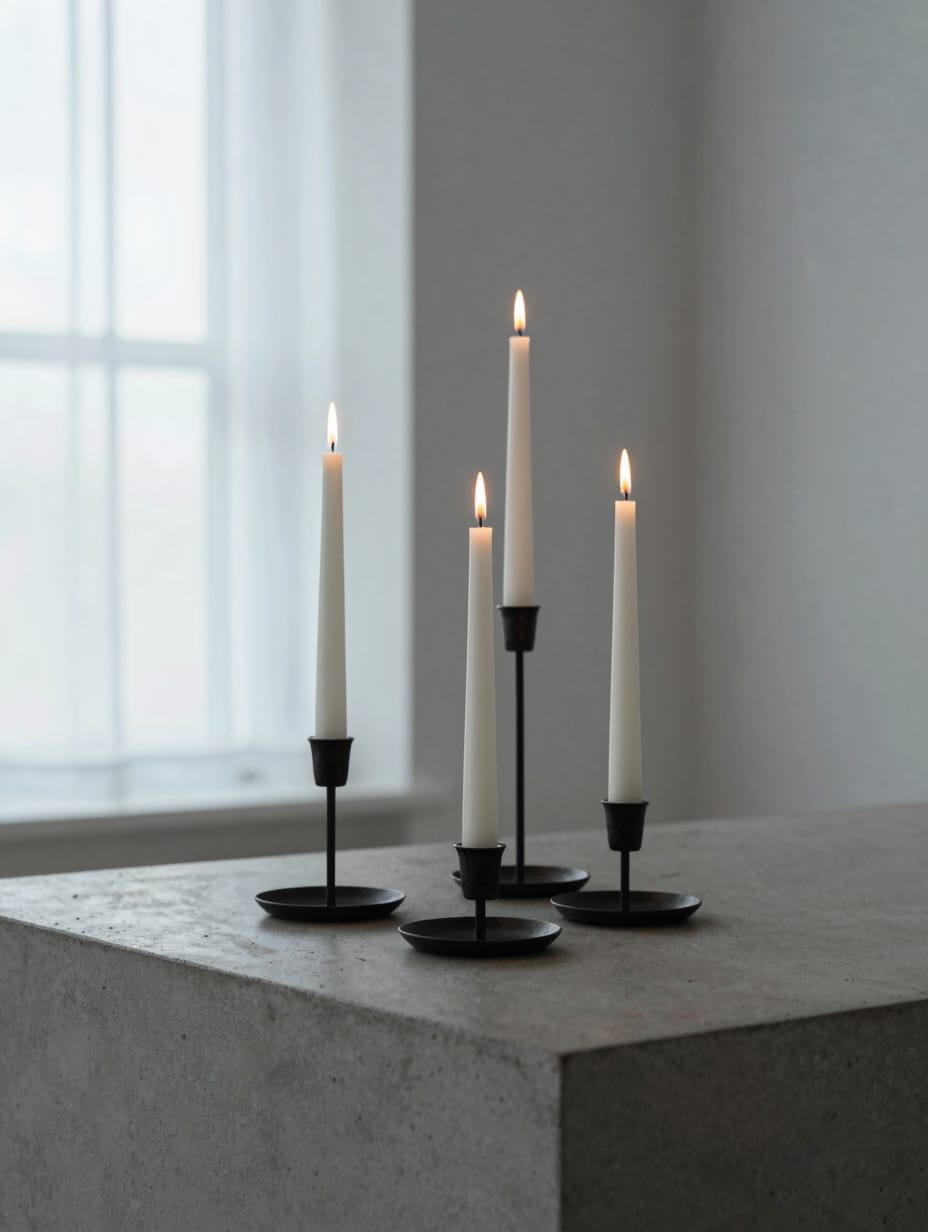
This setup appeared in a modern minimalist project I saw, featuring three black iron taper holders at different heights. The flickering flames against a concrete-look island created a moody, restaurant-style vibe for a dinner party. It’s sharp and clean, focusing on vertical lines rather than bulk.
Wax drips can be a nightmare on porous countertops, so I always recommend dripless tapers. Never leave these burning if you’re actually moving around the island with hot plates.
How to Get This Look
- Space the holders 3 inches apart in a tight cluster to create a singular visual unit.
- Iron taper holders, $30-$55, look for a matte black powder-coated finish.
- Use crisp white candles against a dark or grey countertop for maximum contrast.
- Buy basic glass holders and spray paint them matte black for a $10 alternative.
8. Blue and White Chinoiserie Elegance
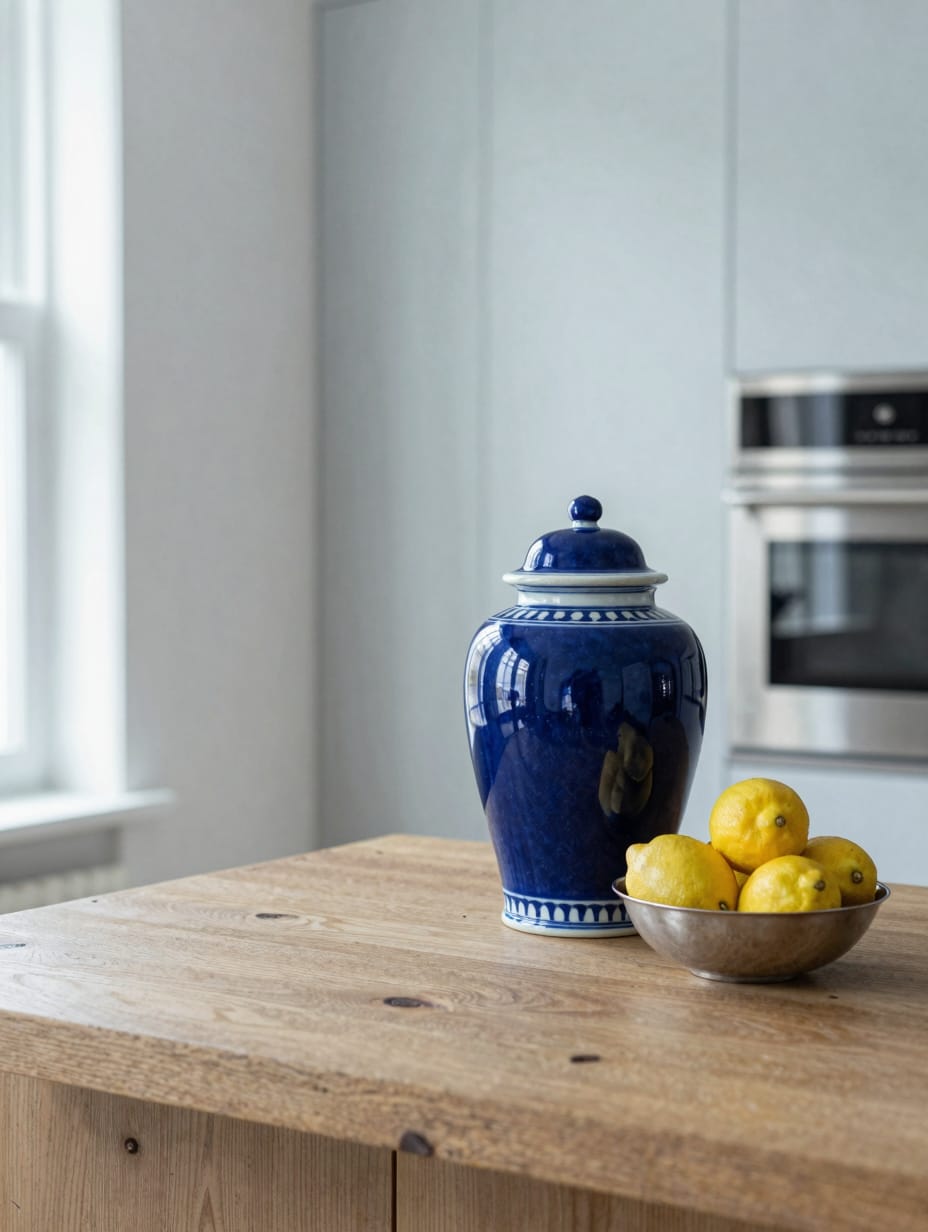
In a high-end designer’s home, I saw a large ginger jar paired with a simple silver bowl of lemons. The deep cobalt blue patterns looked timeless against the stainless steel appliances in the background. It adds a layer of history to a brand-new kitchen that might otherwise feel a bit sterile.
These jars can be quite heavy, so make sure yours has a felt bottom to protect the stone. The bright yellow lemons are essential here to keep the blue from feeling too heavy.
How to Get This Look
- Set the ginger jar slightly off-center to allow room for a secondary, lower object.
- Porcelain ginger jar, $60-$150, check for hand-painted details rather than printed decals.
- Pair the blue porcelain with polished silver accents for a traditional, cool-toned finish.
- Search estate sales for authentic vintage pieces often priced under $30.
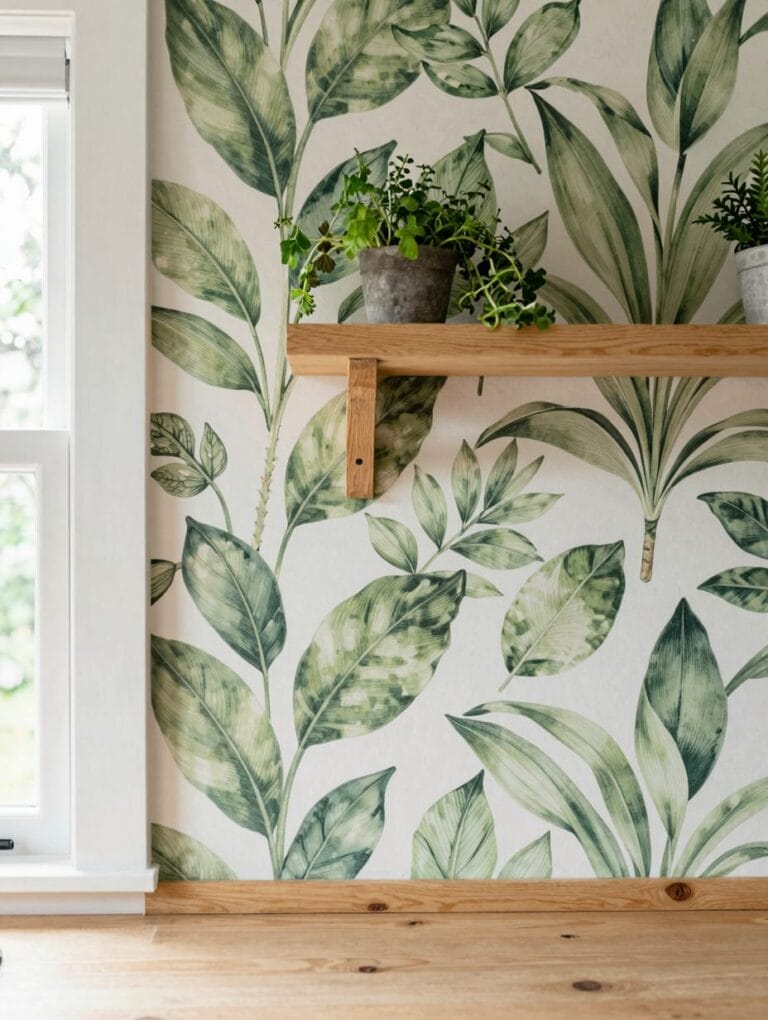
9. Stack of Artisan Cutting Boards
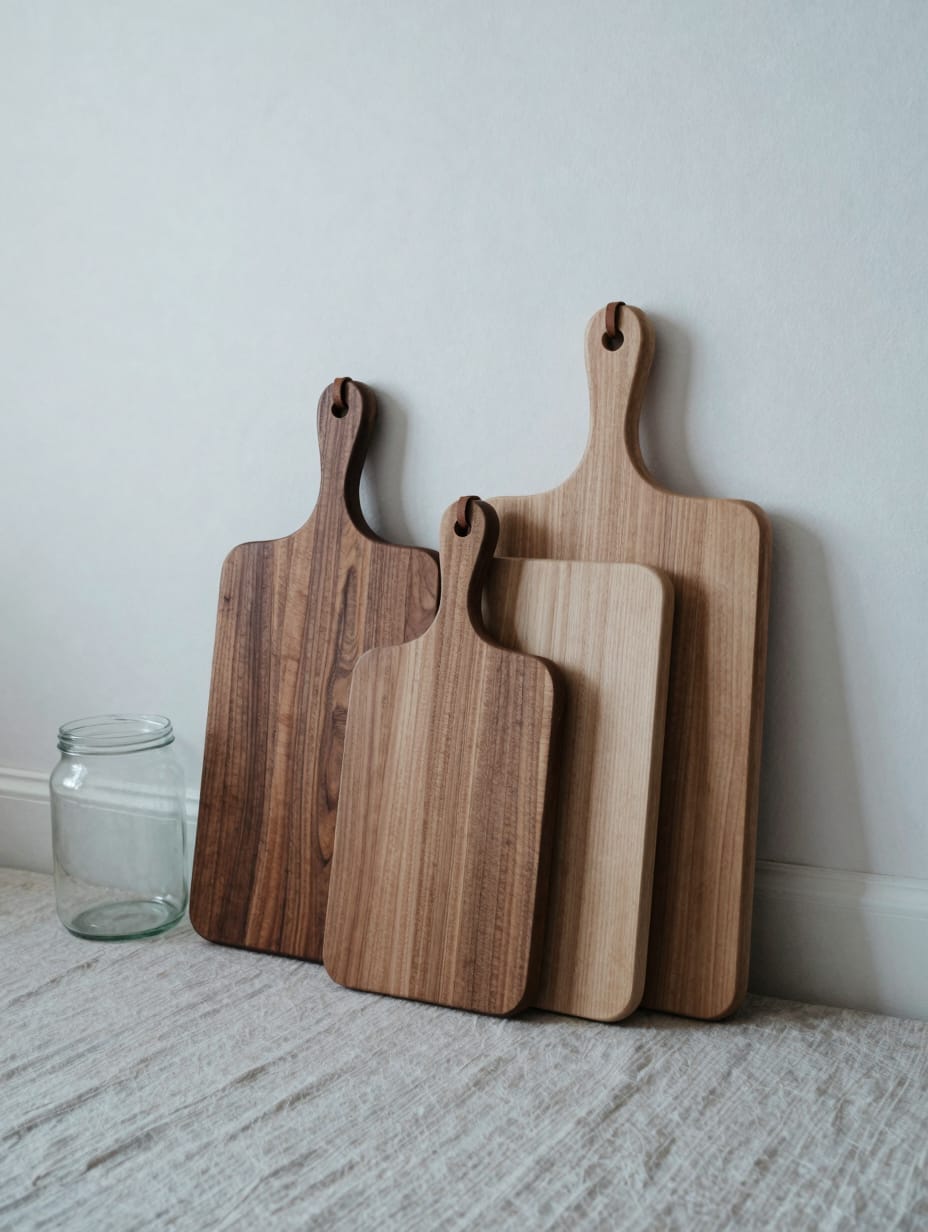
I’ve started leaning three different wooden cutting boards against a large glass jar on my own island. The mix of walnut, maple, and oak creates a beautiful gradient of browns that feels very “chef’s kitchen.” It’s a great way to store bulky items while making them look like a deliberate design choice.
The boards can slip on smooth counters, so I tucked a tiny bit of museum putty under the front one. You do have to move the whole stack every time you need the one in the back.
How to Get This Look
- Layer the largest board in the back and the smallest in front, slightly overlapping them.
- Walnut or oak boards, $40-$90, choose boards with visible leather hanging loops.
- Mix different wood grains to add depth to a neutral, beige, or white kitchen.
- Sand down old, scarred boards and re-oil them for a $5 “new” look.
10. The Fresh Market Flower Bucket
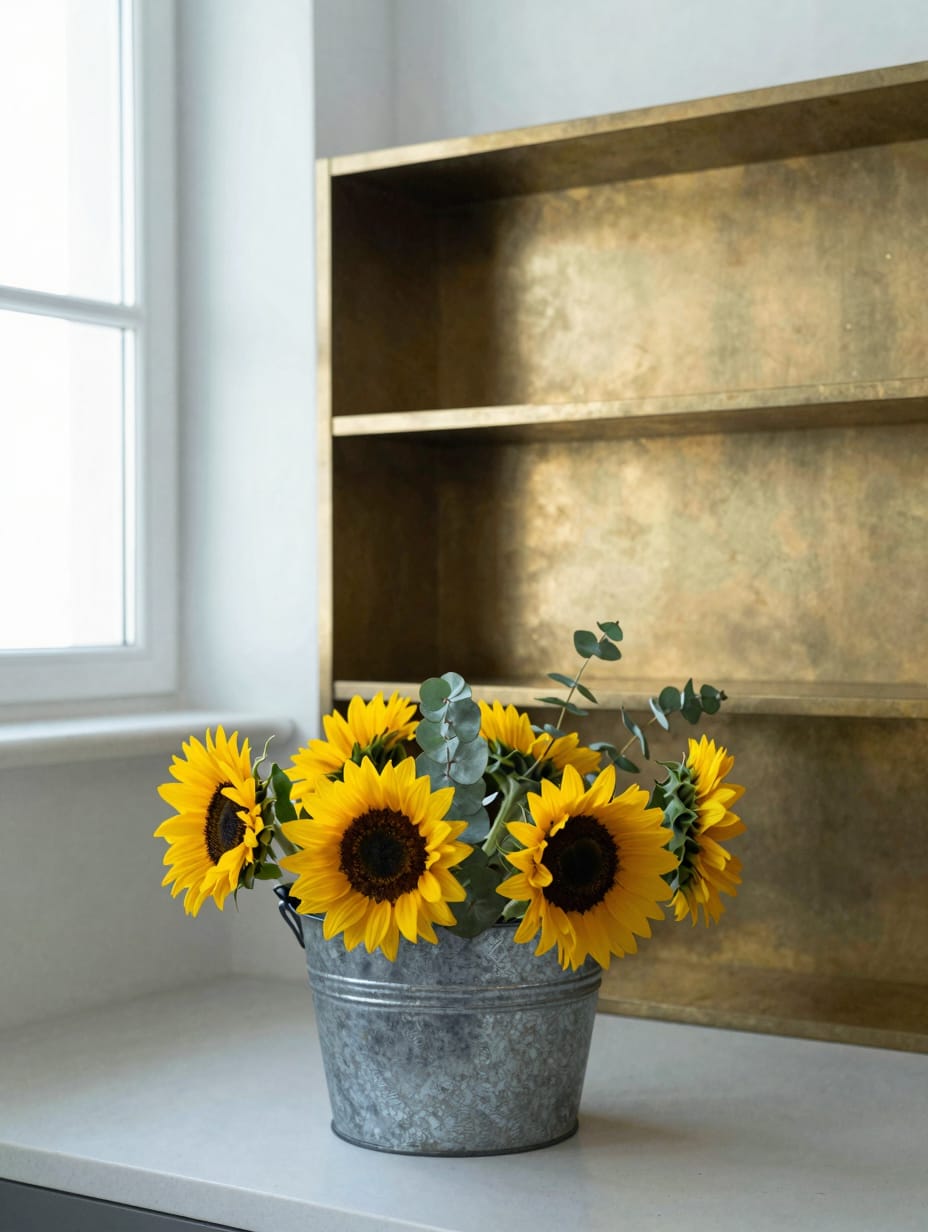
A farmhouse-style kitchen I visited used a galvanized metal bucket filled with wild sunflowers and eucalyptus. The cool grey metal was the perfect foil for the bright yellow petals, making the whole island feel like a summer market. It’s an unpretentious look that works well if your kitchen is a high-traffic family zone.
Galvanized metal isn’t always watertight, so I’d put a plastic liner inside to prevent leaks. Tall flowers like sunflowers can also drop a lot of pollen on your counters.
How to Get This Look
- Keep the tallest bloom about 18 inches high so it doesn’t block eye contact across the room.
- Galvanized metal bucket, $15-$25, look for one with sturdy side handles.
- Combine yellow flowers with dusty green eucalyptus for a soft, natural color palette.
- Use a large cleaned-out juice tin for a $0 rustic floral container.
11. Sleek Black and White Minimalist Grid
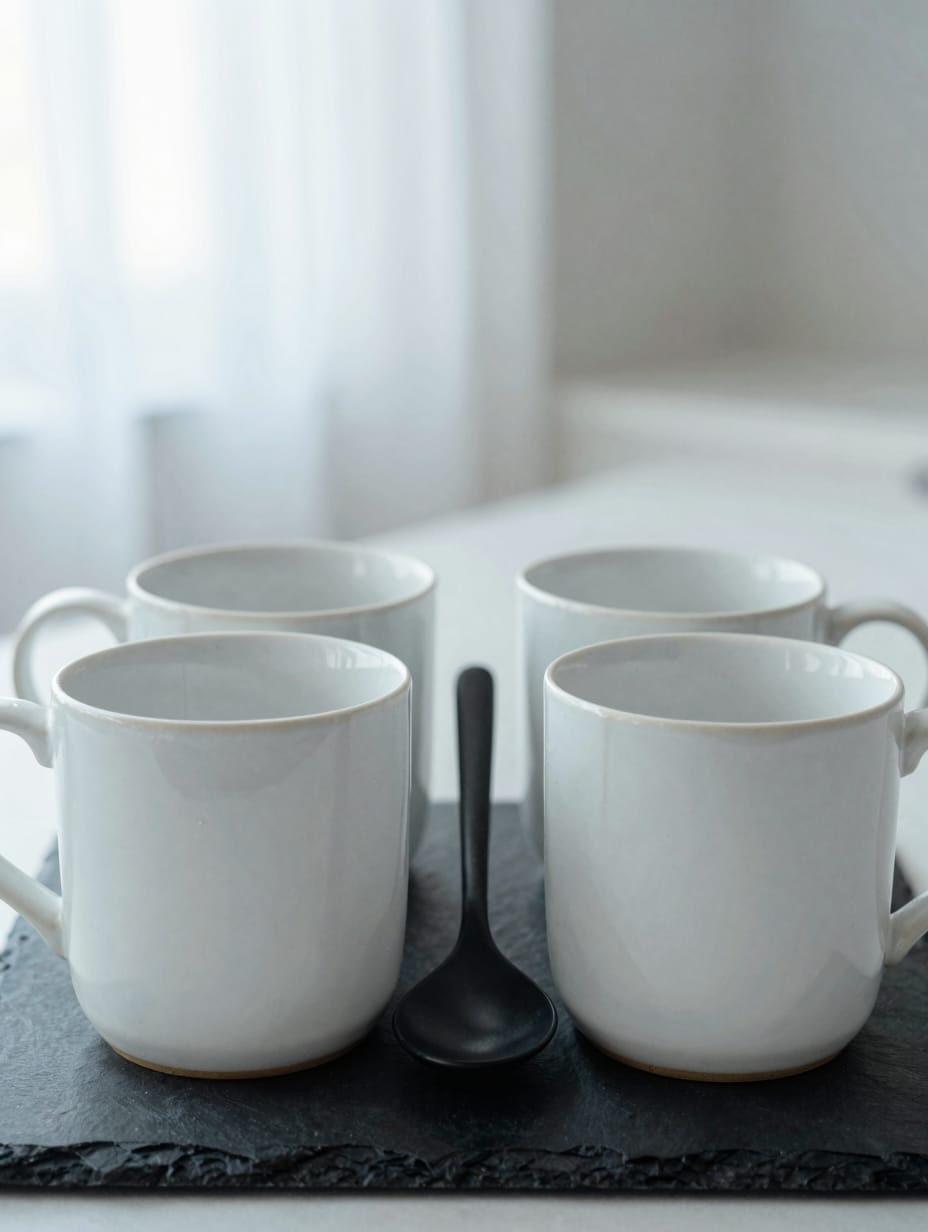
In a modern condo, I saw a grid of four white porcelain mugs sitting on a black slate board. The strict symmetry felt incredibly calming in a room that is usually full of chaos. It’s a very masculine, clean approach to kitchen island decor that prioritizes order over ornament.
Slate can scratch easily, so I recommend choosing a board with rubber feet already attached. If one mug goes missing or breaks, the whole grid effect is ruined.
How to Get This Look
- Align the mugs in a perfect 2×2 square with 1 inch of space between each.
- Slate serving board, $25-$45, choose a “natural edge” for a bit of organic texture.
- Stick to a monochromatic black-and-white theme to emphasize the geometric shapes.
- Use a black ceramic tile from a hardware store as a $3 base.
12. Coastal Glass Jugs with Sand and Shells
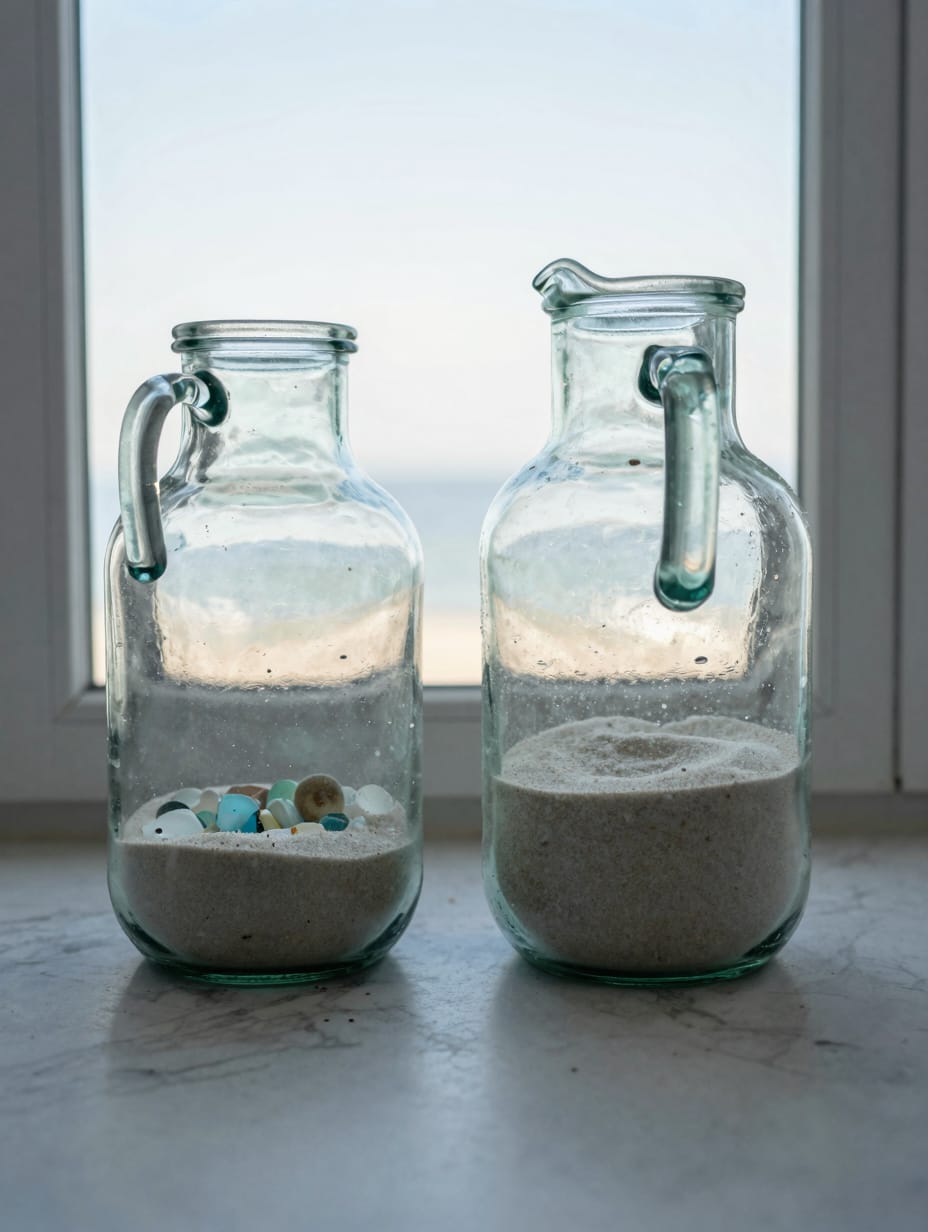
I helped a friend style her beach house island with two oversized seafoam green glass jugs. We filled them halfway with fine white sand and a few pieces of sea glass we found on the shore. The light passes through the translucent glass and makes the whole counter look like it’s underwater.
These jugs take up a lot of visual space, but because they are transparent, they don’t feel heavy. Cleaning the inside of these narrow-neck bottles is nearly impossible once they get dusty.
How to Get This Look
- Place the taller jug slightly behind the smaller one to create a sense of depth.
- Recycled glass balloon jar, $40-$80, look for slight bubbles in the glass for character.
- Use white sand to make the seafoam green or light blue glass pop.
- Fill an empty wine carboy with craft store sand for a $10 coastal vibe.
13. The Sophisticated Wine and Cheese Station
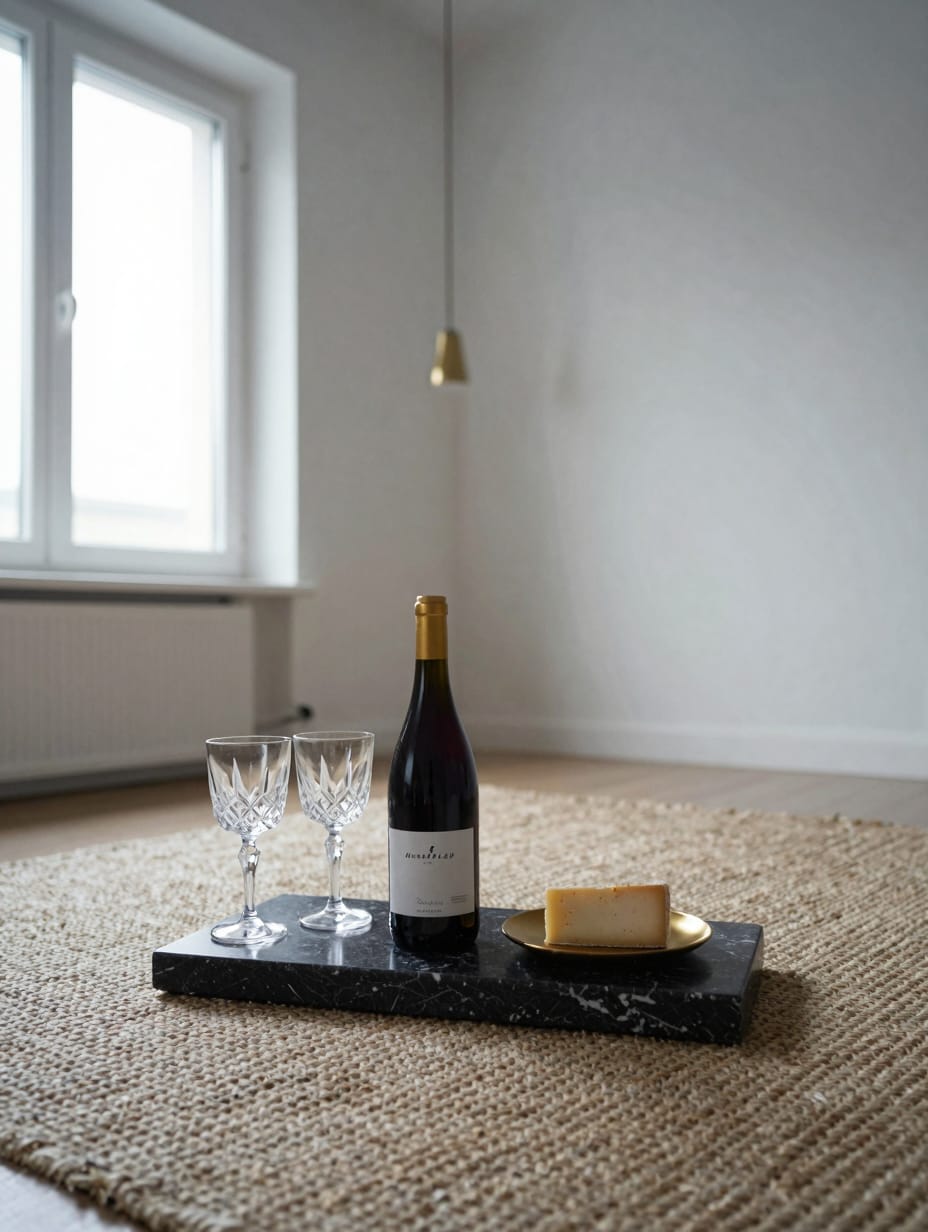
I saw this station set up in a model home, using a dark marble pastry slab as the base. It held a single bottle of wine and two crystal glasses, making the island feel like an invitation to sit down. It’s a great way to transition your kitchen from “work mode” to “hosting mode” in the evening.
Red wine can stain marble, so I’d suggest a glass or metal coaster under the bottle. It’s a high-maintenance look if you actually use the space for prep during the day.
How to Get This Look
- Angle the bottle label toward the room’s entrance to make it look professionally staged.
- Marble pastry board, $35-$70, choose a dark grey or black stone for a moody feel.
- Use gold-rimmed plates to add a small touch of warmth to the cold stone.
- Repurpose a large floor tile as a $5 decorative tray for your station.
14. Earth-Toned Ceramic Vases with Dried Grass
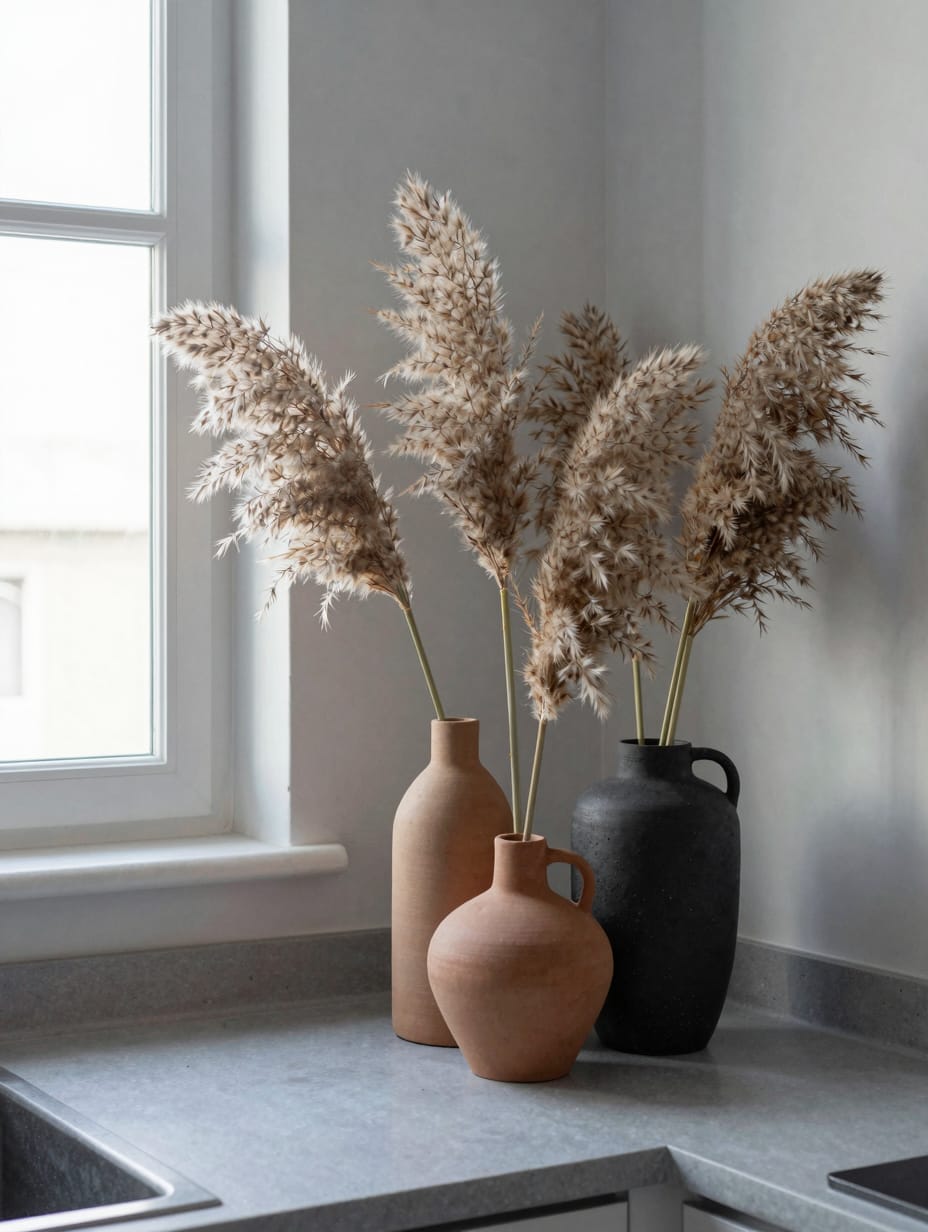
A recent designer portfolio showcased three handmade ceramic vases in sandy, muted tones. They held wispy pampas grass which softened the sharp edges of the island’s waterfall countertop. The gritty, matte texture of the clay felt very grounded and artisanal compared to shiny mass-produced items.
Pampas grass sheds quite a bit, so I always give the stems a quick spray of hairspray to lock the fibers in. These vases are light, so they can tip easily if someone bumps the island.
How to Get This Look
- Group the vases in an odd number—three or five—to create a more natural visual flow.
- Hand-thrown ceramic vases, $45-$120, prioritize varied heights and “toasted” clay colors.
- Keep the color palette restricted to beiges, tans, and charcoals for an organic feel.
- Paint old glass jars with a mix of acrylic paint and baking soda for a $5 ceramic look.
15. The Seasonal Citron Centerpiece
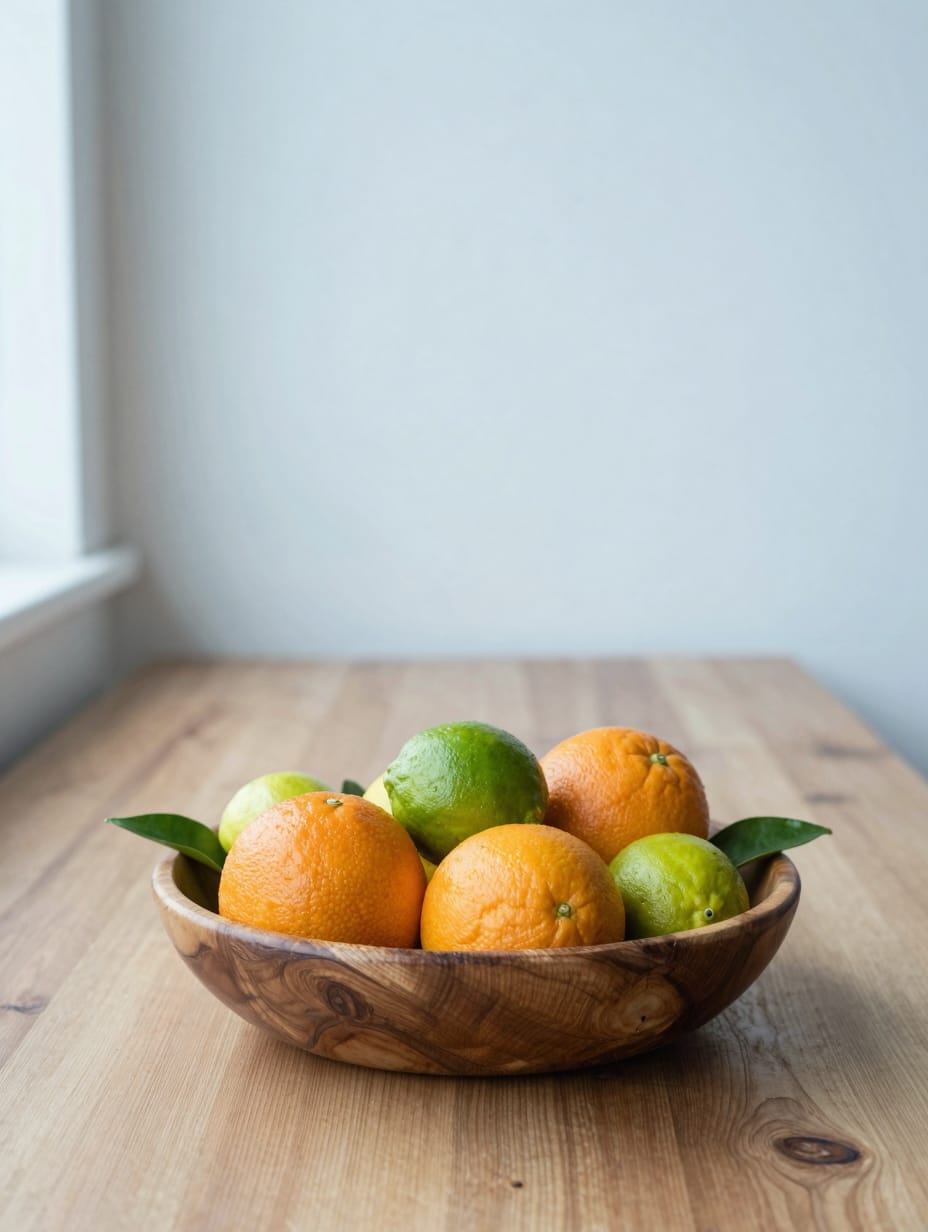
I’ve used a long, narrow dough bowl filled with limes and oranges on my own island for years. The bright citrus colors are the first thing people notice when they walk in, and it feels much fresher than a floral arrangement. Because it’s low and long, it doesn’t block the view of the TV in the living room.
Real citrus can mold if there’s no airflow, so I usually hide a few faux fruits at the bottom. The dark wood of the dough bowl really makes the neon green of the limes stand out.
How to Get This Look
- Center the dough bowl along the longest axis of the island to emphasize its length.
- Hand-carved wooden dough bowl, $60-$130, select a “reclaimed” wood for more texture.
- Tuck in a few preserved boxwood leaves to add a permanent touch of green.
- Use a long wicker bread basket for a $15 lightweight alternative.
16. Industrial Metal Tiered Stand for Spices
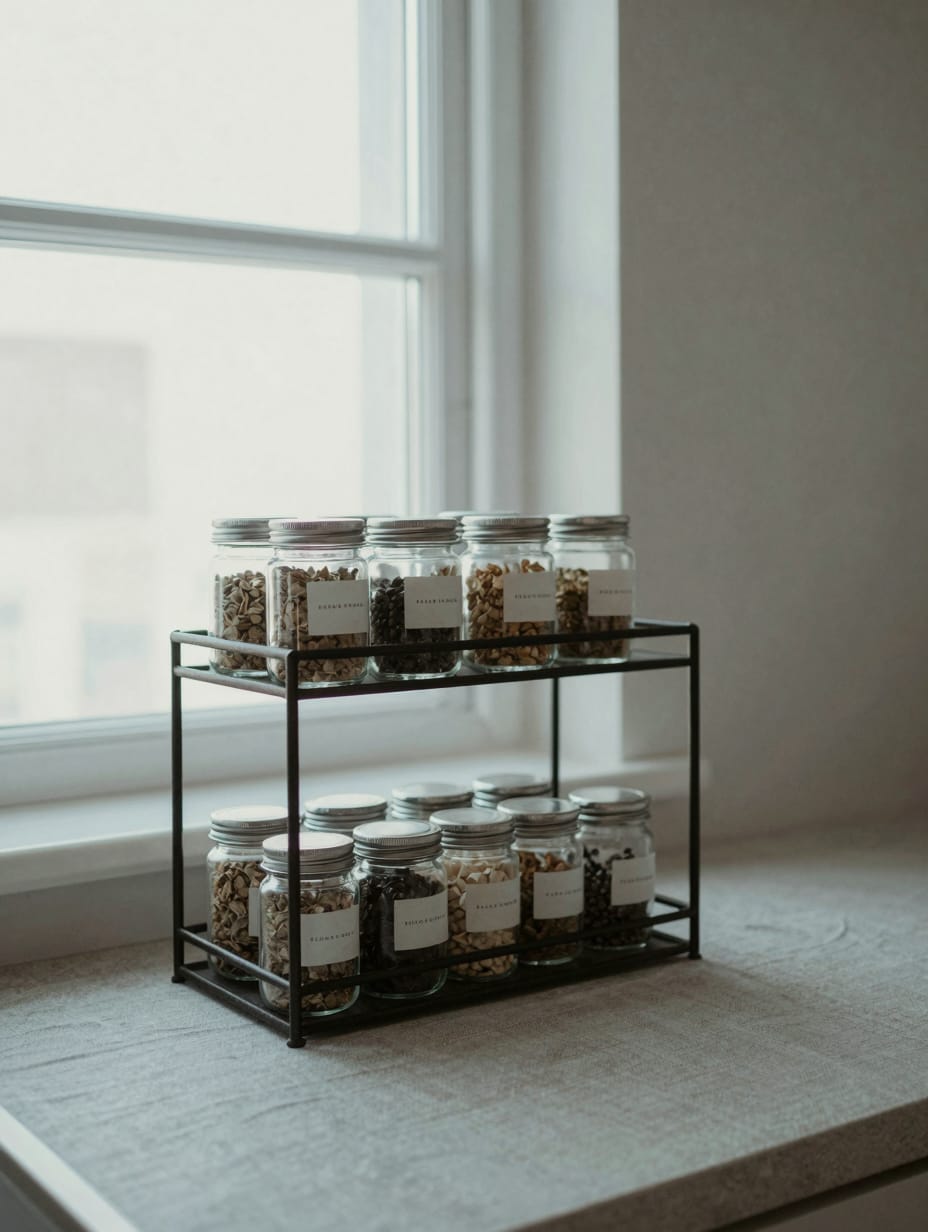
I saw this in a professional chef’s home where a two-tier blackened steel stand held all his daily spices. The verticality of the stand saved a massive amount of counter space while still looking like a deliberate design choice. It’s one of the best kitchen island styling ideas for small spaces because it utilizes the air, not just the surface.
The metal can feel a bit cold, so I suggest bamboo lids on the jars to warm it up. If you don’t use the spices often, the jars will eventually get a layer of kitchen grease on them.
How to Get This Look
- Place the stand at the far end of the island, away from the seating area.
- Blackened steel tiered stand, $30-$55, ensure the tiers are tall enough for standard jars.
- Use uniform minimalist labels on all jars to keep the look organized and intentional.
- Stack two different sized cake stands for a $20 DIY tiered effect.
17. Luxe Gold Accents and White Hydrangeas
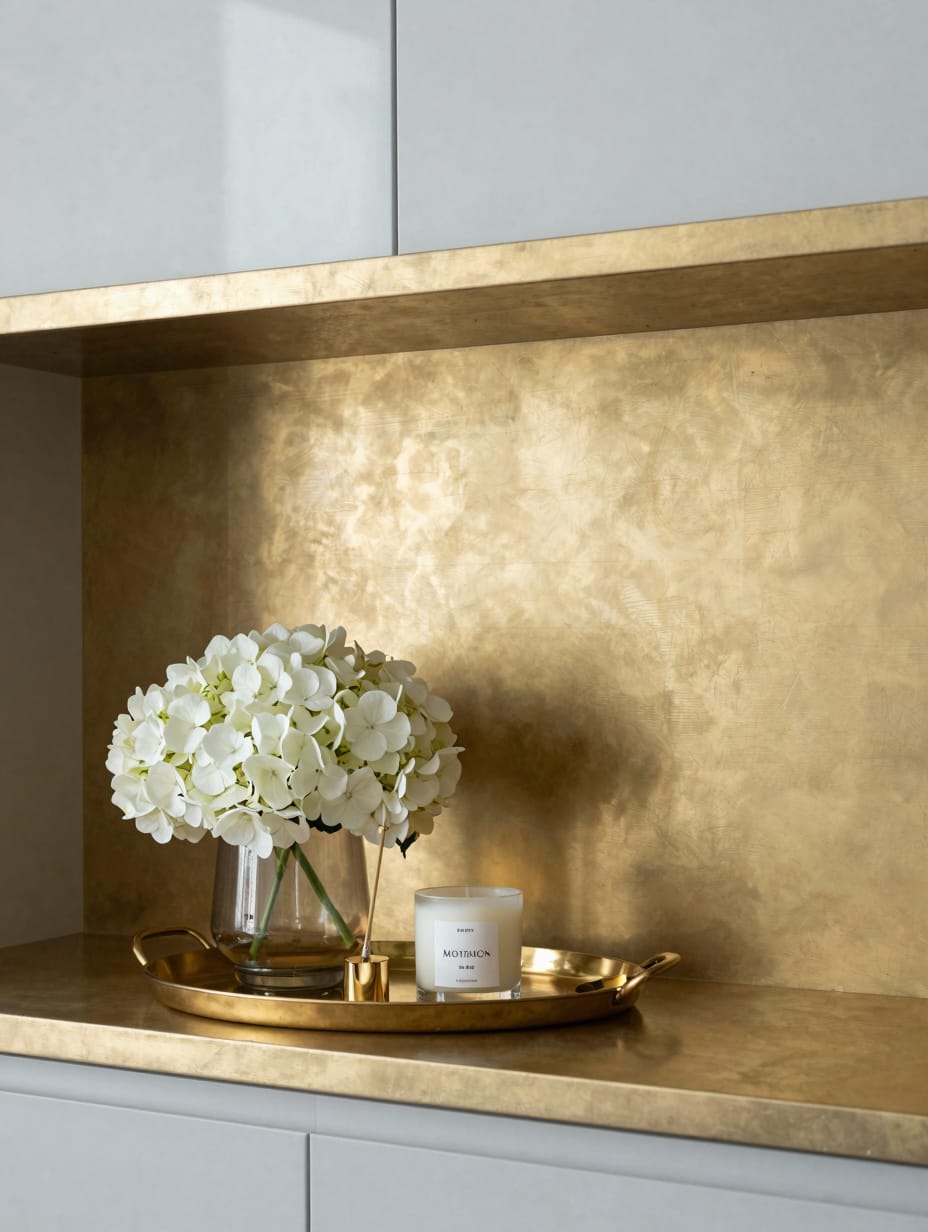
I recently styled a kitchen with a polished gold tray holding a low vase of white hydrangeas. The gold surfaces reflected the under-cabinet lighting, making the whole island feel like a glowing centerpiece. It’s a very feminine, high-end look that pairs perfectly with white cabinets and brass hardware.
Polished gold shows every single water spot and fingerprint, so keep a microfiber cloth nearby. White hydrangeas also wilt notoriously fast, so high-quality silk ones might be a better long-term bet.
How to Get This Look
- Use a tray with a mirrored base to double the impact of the flowers and the light.
- Polished gold tray, $40-$90, look for one with a high lip to contain the objects.
- Keep the floral arrangement low and wide—about the same width as the tray itself.
- Spray paint a thrifted silver tray with metallic gold paint for a $10 luxe finish.
Loved these ideas? Save this post to Pinterest so you can come back to it later.
Simple Ways to Bring These Ideas to Life in Your Home
Styling doesn’t have to be a major project if you follow a few basic rules of thumb. I’ve found these five steps help keep my kitchen island decor looking curated rather than cluttered.
- Work in odd numbers like three or five to create a natural visual balance.
- Vary the heights of your objects to keep the eye moving across the space.
- Use a tray or a board to “ground” smaller items and prevent them from looking scattered.
- Incorporate at least one organic element, like wood or a plant, to soften hard surfaces.
- Leave at least 50% of the island surface clear to maintain its functionality for cooking.
Frequently Asked Questions
What is the best height for kitchen island decor?
I recommend keeping most decor under 12 inches to ensure sightlines remain open across the room. If you choose a tall statement piece, like branches, place it at one end rather than the center. This prevents the island from feeling like a wall between the kitchen and living area.
How do I stop my island from looking cluttered?
The secret is grouping. Instead of five separate items sitting on the counter, put four of them on a tray and leave one larger item solo. This creates two visual “anchors” instead of five distractions. I also clear off non-decorative mail and keys every single evening.
Should I match my island decor to my cabinet hardware?
It’s not a strict requirement, but it helps the room feel cohesive. If you have brass pulls, adding a brass easel or tray ties the look together. However, mixing metals—like black iron with brass—actually adds more character and keeps the kitchen from looking like a showroom set.
Can I use real plants if my kitchen doesn’t have much light?
You can, but you’ll need to choose low-light varieties like pothos or ZZ plants. For an island, I usually stick to fresh-cut branches or high-quality silk florals. They provide the same organic feel without the stress of keeping a plant alive in a dark corner of the room.
Common Myths About Kitchen Island Decor
Myth: You need a huge island to style it properly.
Small islands actually benefit the most from styling because it defines the space. Using vertical items like a tiered spice rack or a slim vase adds personality without eating up square footage. My first kitchen had a tiny 3-foot island that looked great with just one wooden bowl.
Myth: Everything on the island must be functional.
While utility is great, a purely functional island often looks cold. Adding a “useless” item like a vintage book or a sculptural vase provides the visual warmth that makes a house feel like a home. I’ve found that a 70/30 mix of function and beauty is the sweet spot.
Myth: Symmetrical decor is always the best choice.
Symmetry can actually make a kitchen feel stiff and formal. Asymmetric groupings—like a tall vase on one side and a low tray on the other—create a more relaxed, modern energy. Most designers I know prefer a “balanced” look over a perfectly mirrored one to keep things interesting.
Kitchen Island Decor: Thoughts
Finding the right kitchen island decor is about balancing your daily needs with a bit of visual storytelling. Whether you choose a single bold branch or a curated coffee nook, these small changes make a massive impact. Save this post to Pinterest 📌 and start building the apartment you actually want to come home to.